Printer and drivers upload
When you open the tool for the first time, you will be able to upload selected printers and drivers into your company, then you will be able to use those printers via Cloud Client, or be able to use driver settings in Virtual Spooler configuration.
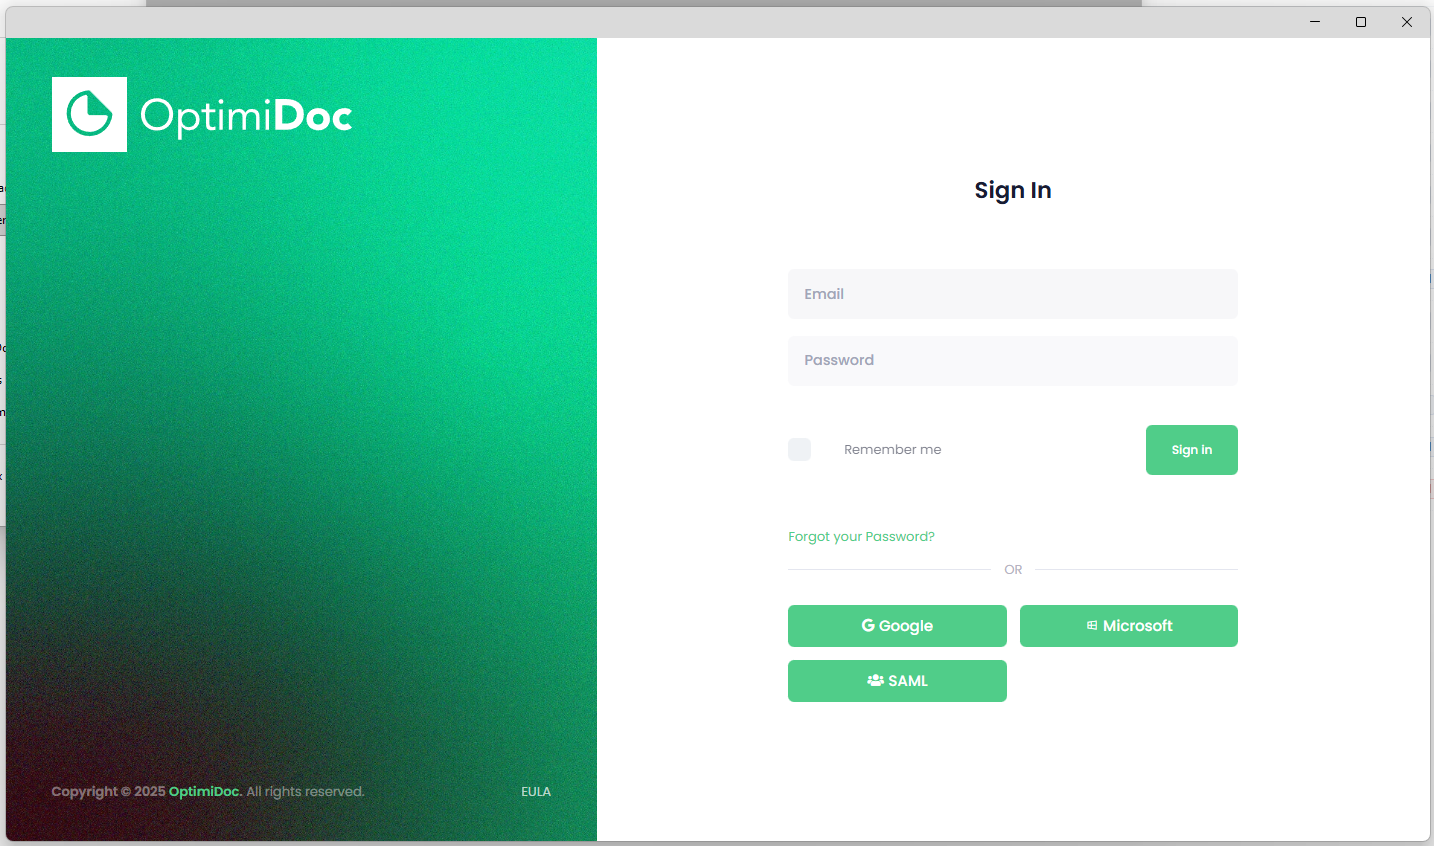
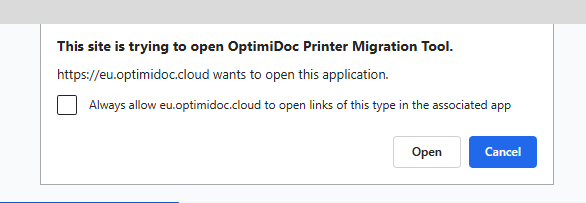
1. In order to be able to list printers and upload them, select the datacenter, and click on the Login and Load printers - this will popup the window with sign-in options. This action will collect information about printers and drivers in your system - the operation can take some time, please wait until it's done.
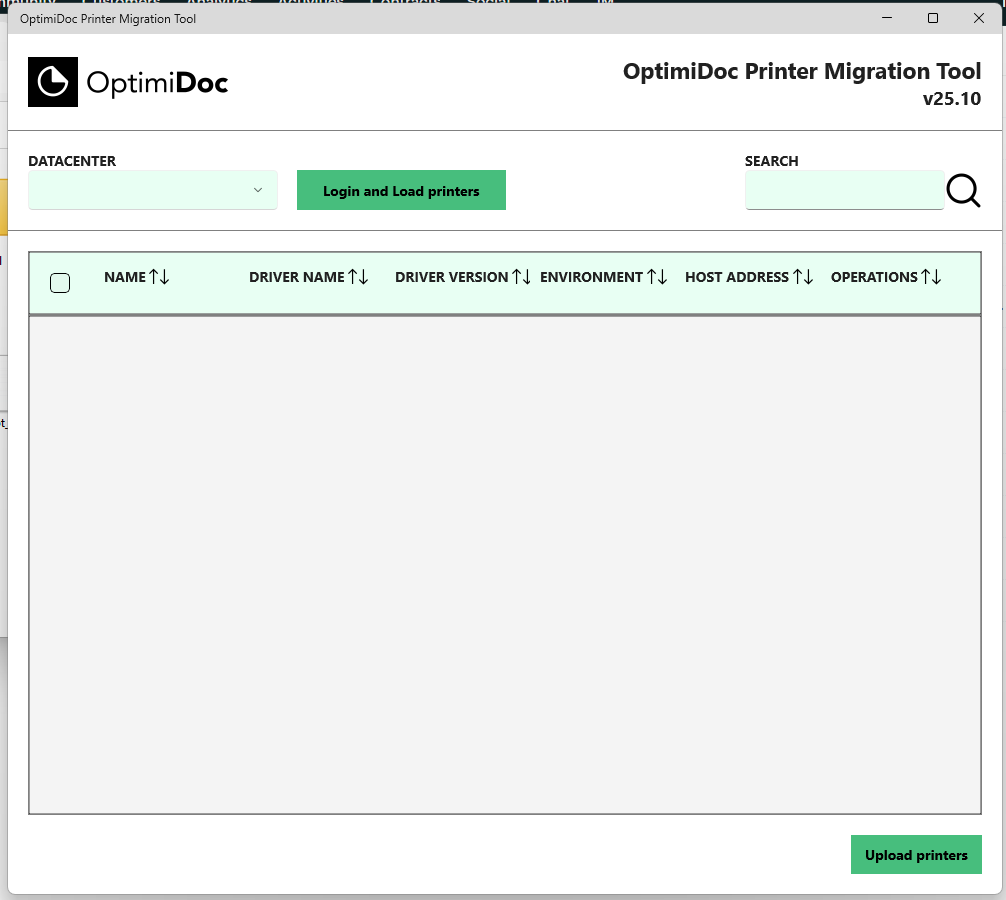
When you make any changes in the driver configuration, you have to click on Login and Load printers again, setting of printers/drivers will reload.
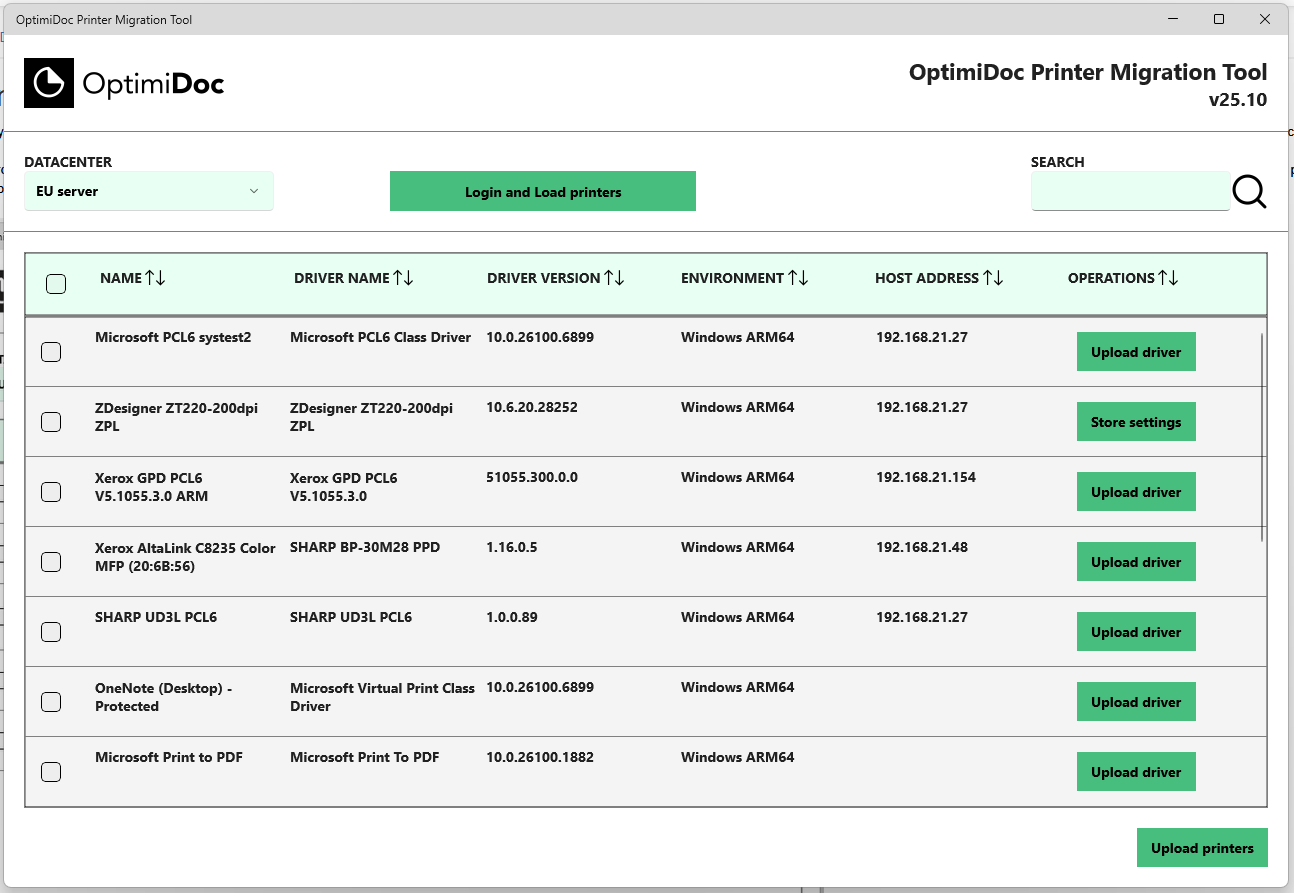
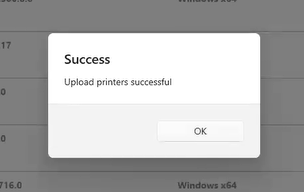
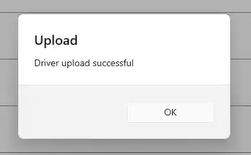
2. To upload selected printers, click on Upload printers button. To upload the driver of specific printer, click on Upload driver button in the printer's row. When the operation finishes, you will see the confirmation.
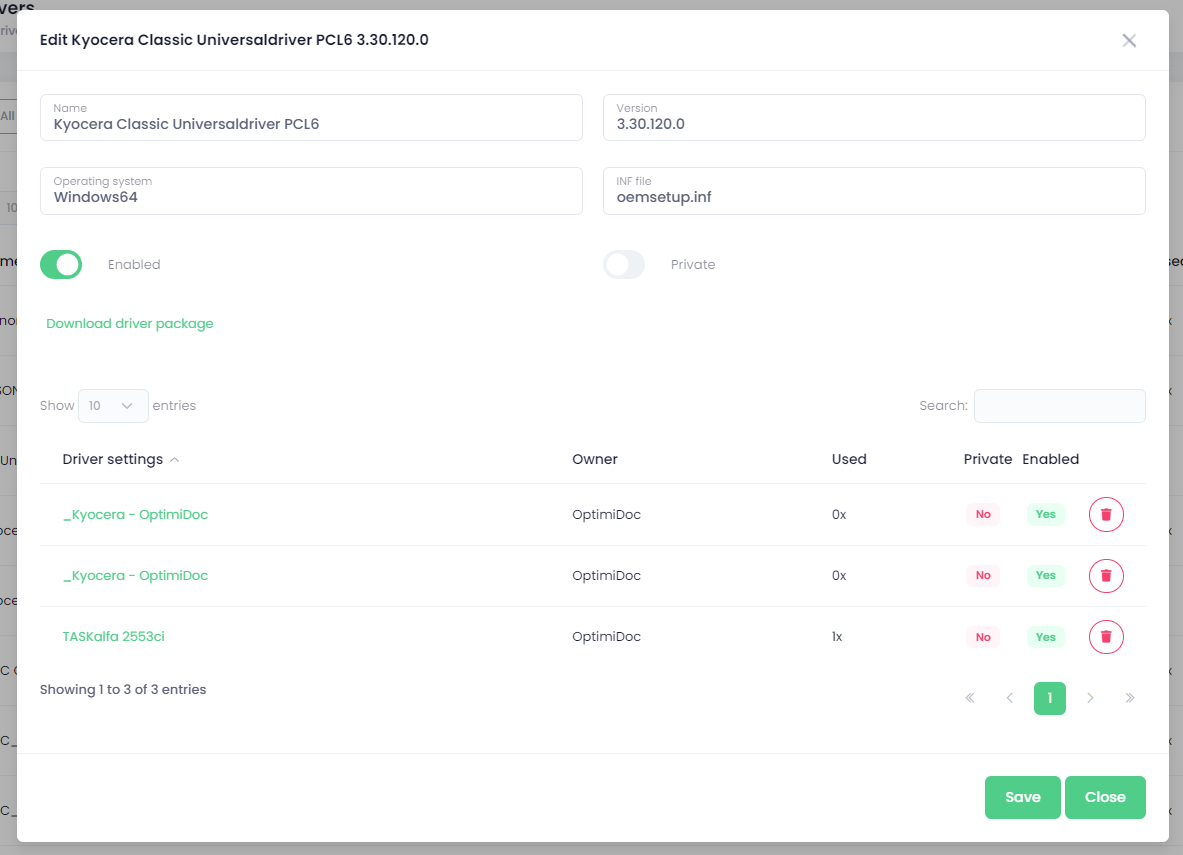
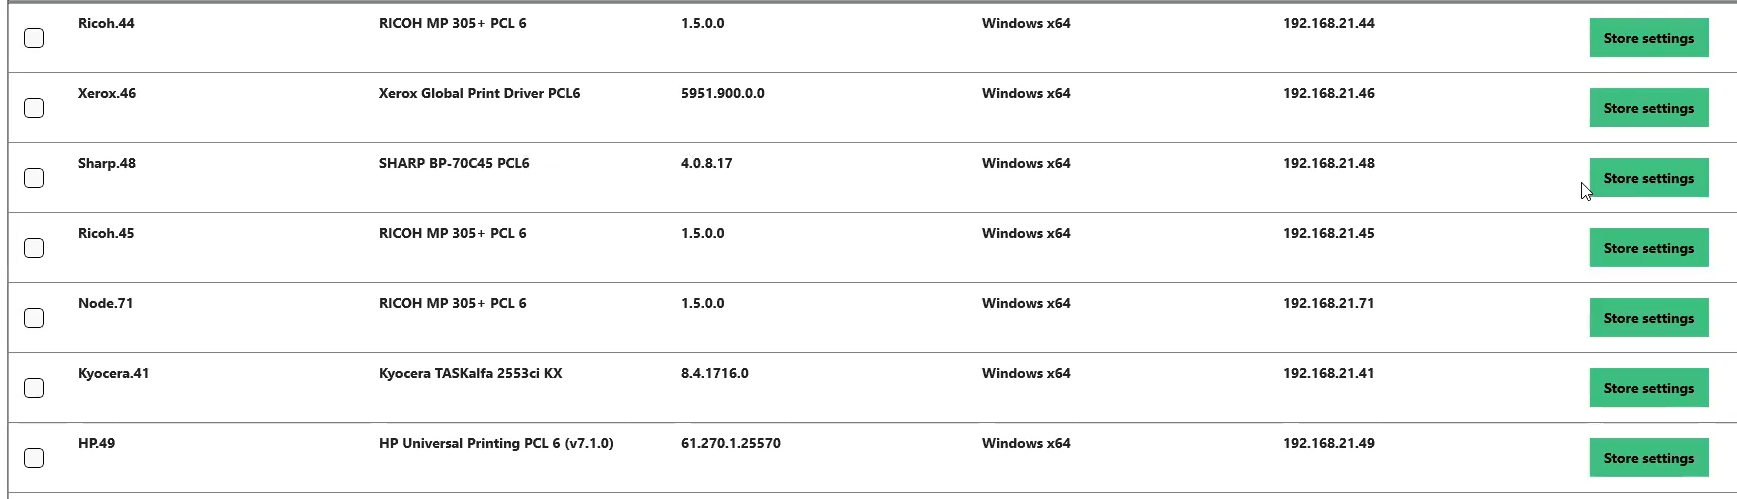
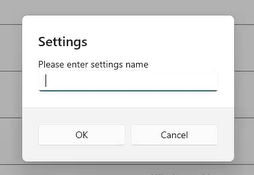
3. When you already have printer uploaded, the button in the printer's row changes and you will be able to store new or specific driver configuration next to the default driver settings. To do that, click on Store settings button and in the popup enter the name of your configuration, such as B&W, Colour, duplex, this information is for you, so you know which configuration you will use in printer or Virtual spooler configuration.
You will see this in the Printer drivers section on the Cloud portal. For more information, see the Printer drivers section of the guide.