The Digital Workplace is a personalized, web-based command center within your OptimiDoc Cloud tenant. Designed for a serverless environment, it provides the user with control over their OptimiDoc profile and allows them to customize how OptimiDoc handles their documents, perform scans and even allows for documents to be uploaded for printing using the web app. The OptimiDoc Digital Workplace serves as the bridge between your digital files and the physical multi-function printers (MFPs) within your workplace.
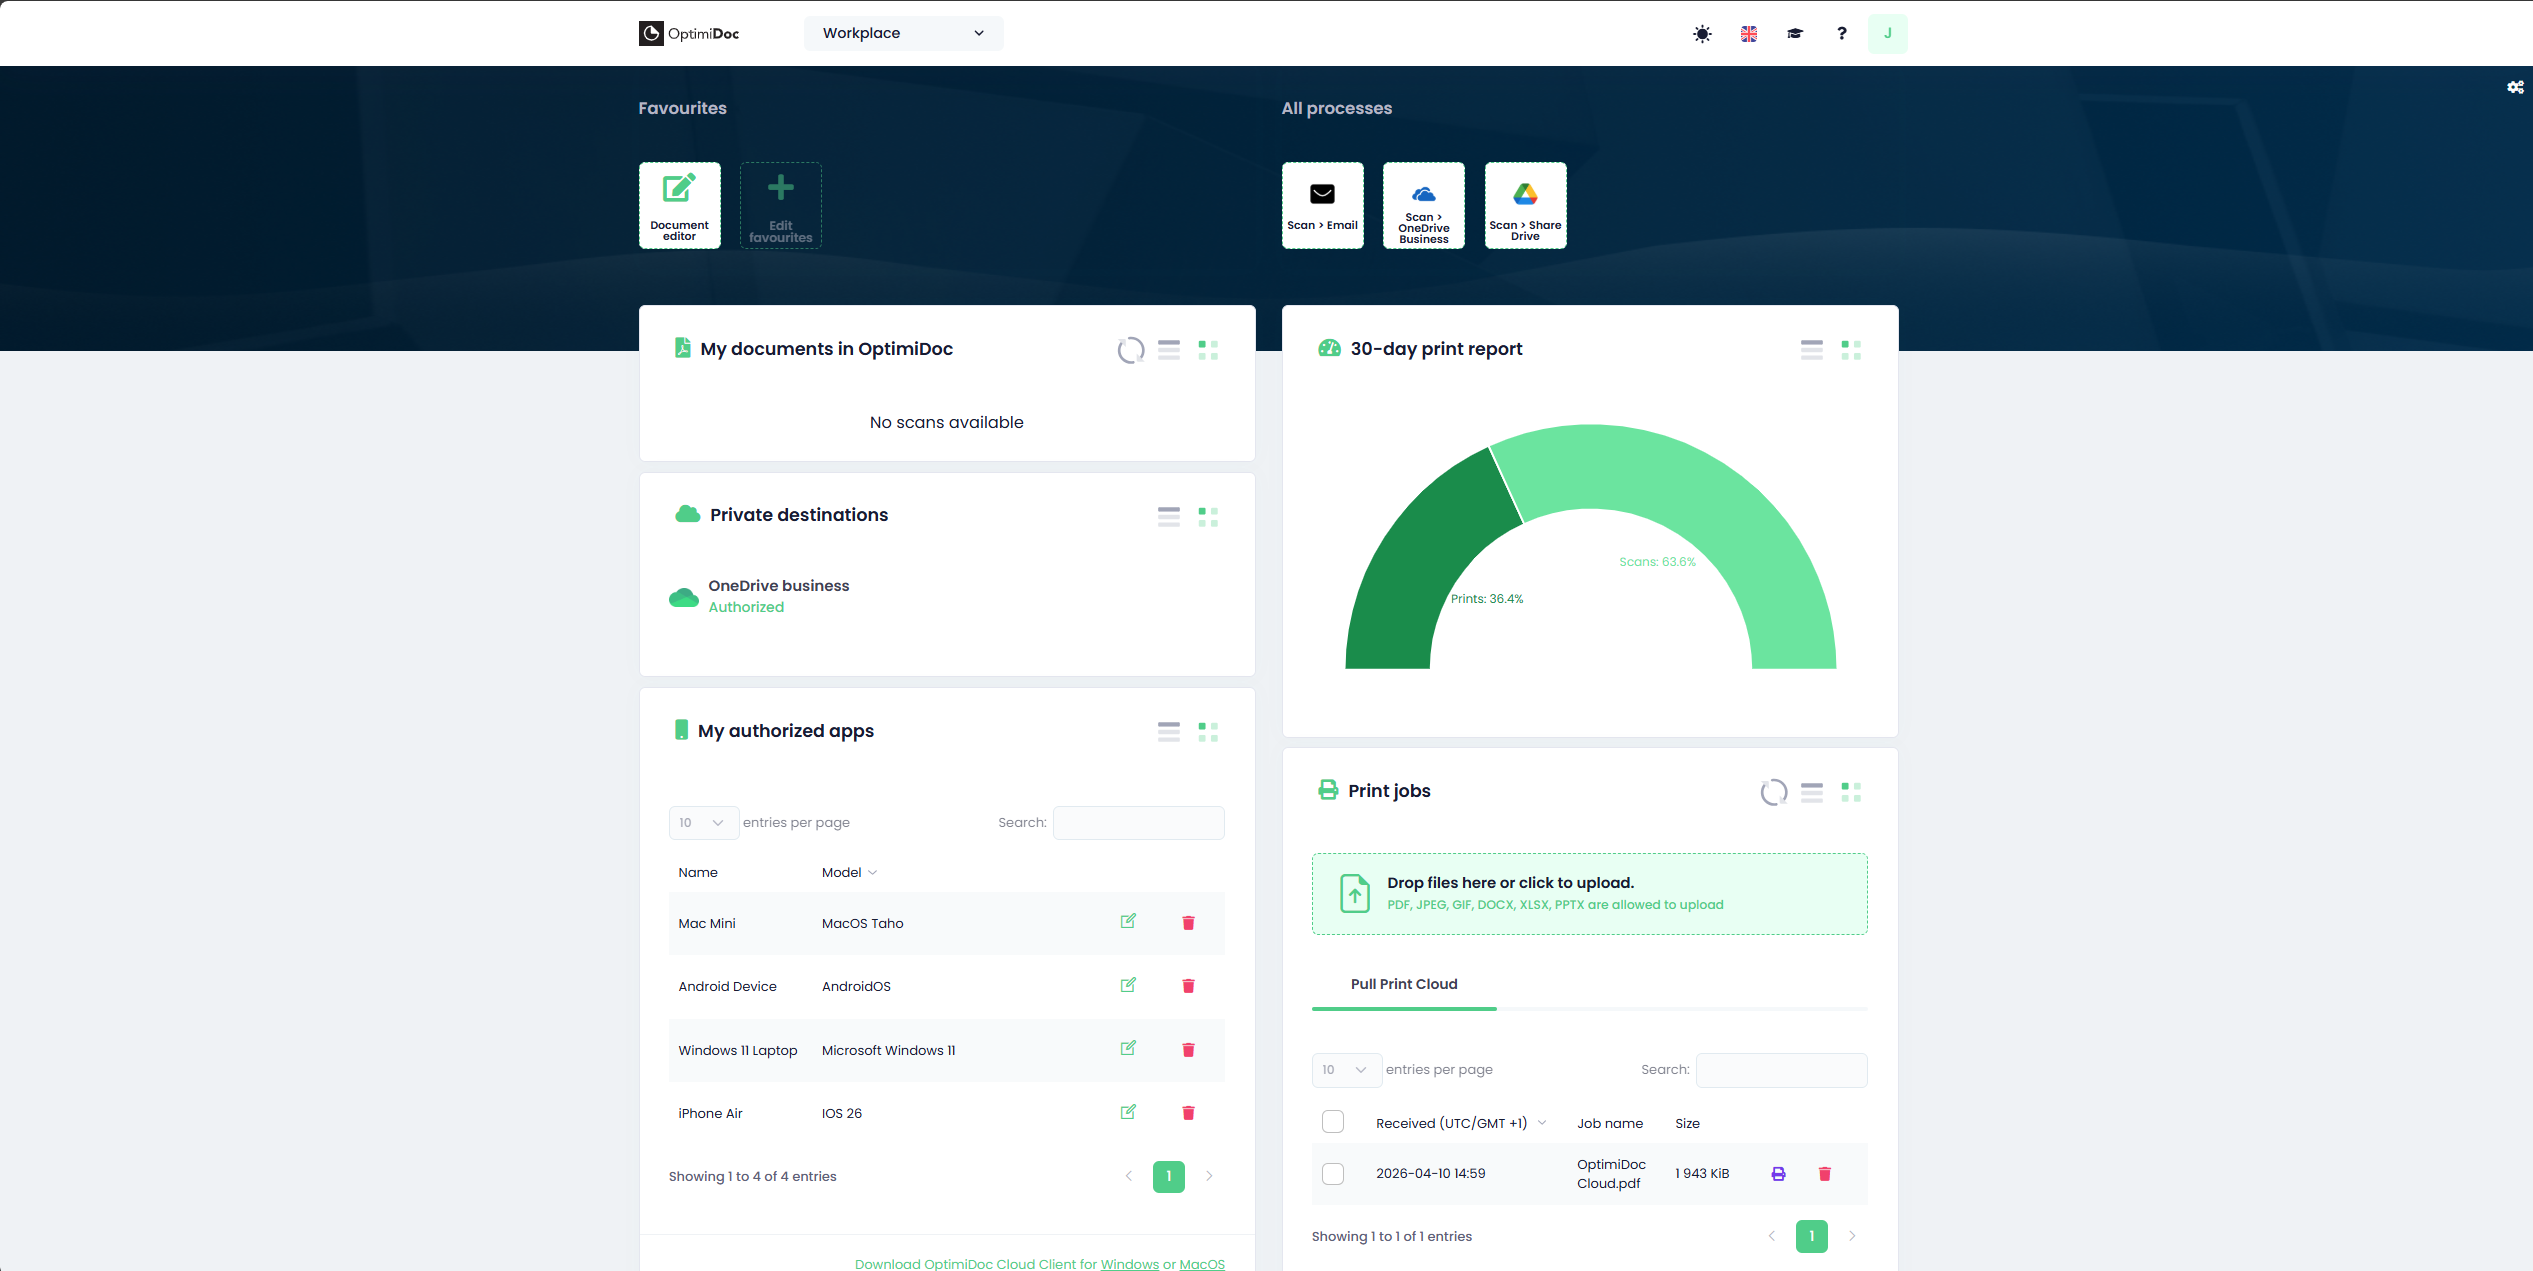
1. Dashboard and Widget Management
The Workplace utilizes a modular design composed of Widgets. These are independent functional blocks that act as windows into different OptimiDoc services, allowing you to build a dashboard that matches your daily habits.
OptimiDoc Cloud Tenant Administrators can manage what widgets are available to users by navigating to Admin Console > Settings > Personalisation > Allowed workplace widgets
1.1) Customizing Your Workspace
Your dashboard is flexible and can be optimized to reduce clutter or prioritize urgent tasks.
-
Toggling Visibility: By clicking the(

-
Dynamic Re-arranging: Every widget features a three-line (

-
One-Click Hiding: If you need to clear space quickly without entering the main settings, you can click the four-square button on any individual widget and select Visible: Off.
Quick Tip: If you need to clear space quickly, the four-square button on any of the individual widgets opens a menu where you can then toggle Visible: Off to hide it instantly.
2. Workplace Components
Each component within the Workplace represents a direct link to the OptimiDoc Cloud processing engine.
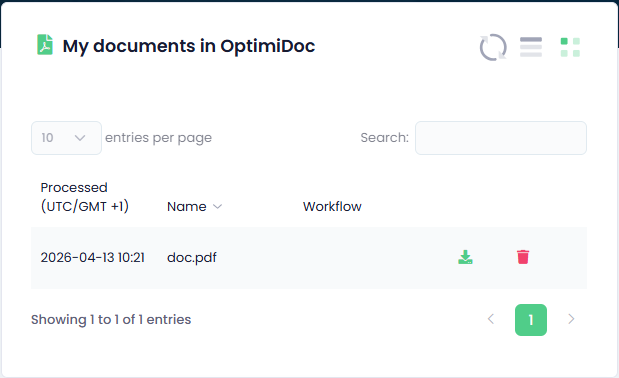
2.1) My Documents in OptimiDoc
This widget serves as your personal digital "output tray." It displays documents that have been processed by the cloud engine but have not yet been moved to their final destination.
-
Management: From here, you can review your processed files, download them to your local workstation, or delete them.
-
Automatic Maintenance: To ensure security and system efficiency, files are automatically cleared after 24 hours. Ensure you download any required documents before this daily cleanup occurs.
2.2) 30-day Print Report
This widget provides an analytical snapshot of your activity and environmental impact over the last month.
-
Insights: It displays a graph showing your total volume of Prints, Copies, and Scans. This helps you monitor your usage trends at a glance.
-
Visibility: Note that this data is only generated and displayed if your organization's license includes the Print Management module.
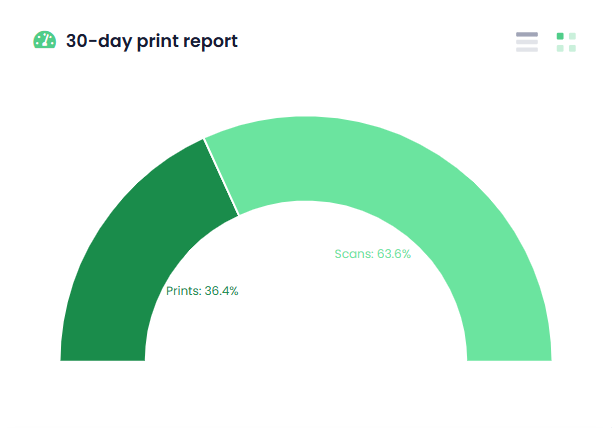
Did you know? If you hover over the Scans or Prints section of the print report, you can see the exact number of prints and scans performed in the last 30 days?
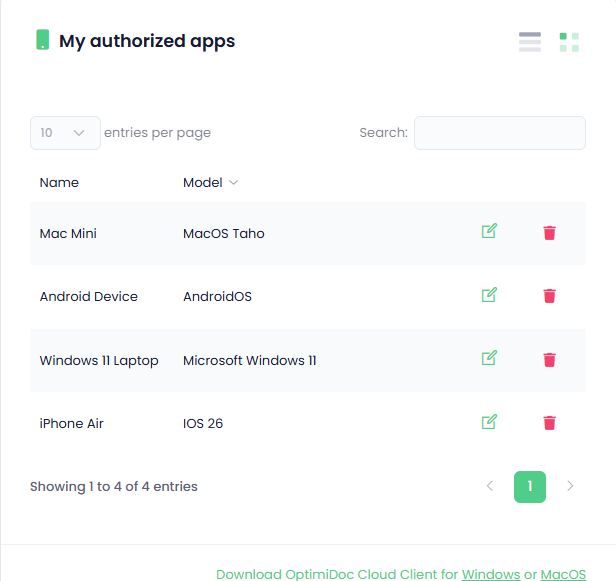
2.3) My Authorized Apps
The Digital Workplace connects your cloud profile to various physical and digital tools. This section allows you to manage those links.
-
Client Downloads: You can find direct download links for the OptimiDoc Cloud Client for both Windows and macOS. These clients are essential for "Pull Printing" directly from your computer.
-
Access Control: It lists every application currently authorized to interact with your profile, giving you the power to revoke access for devices you no longer use.
The devices shown in the Digital Workplace are unique to your profile. These will be devices that have authenticated with your OptimiDoc profile using either the Cloud Client or the Mobile App. If you wanted to rename your device, you can click on the edit ( ![]()
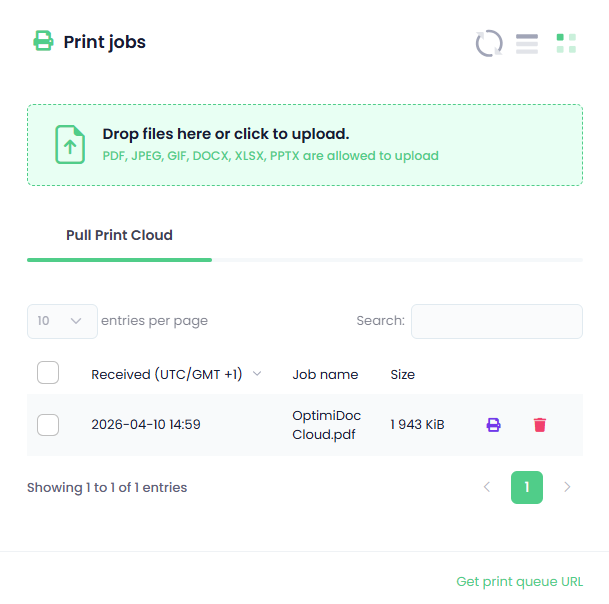
2.4) Print Jobs
The Print jobs section shows a list of all your jobs currently queued for release. It does this by Queue. So jobs are automatically organized by queue and each queue is displayed as shown below. You can have as many queues as you want.
Queues can be assigned on a per-user or per-group basis. In addition, you can also submit jobs to be printed directly to your selected queue by using the Drop files here or click to upload box, as shown in the image below.
-
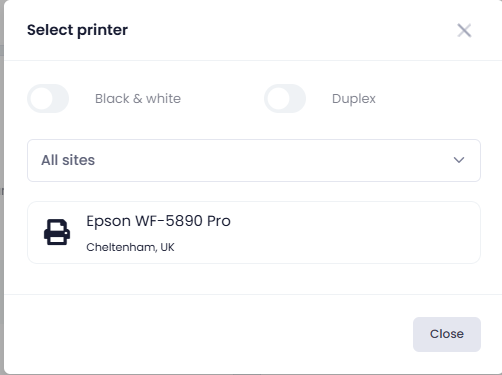
Remote Release: If you are at a printer, you can select a job in this widget and click the printer icon (

Did you Know? Is it also possible to print by clicking Get print queue URL and pasting this your printer address when adding a new printer on you PC.
- This will create an IPP Printer, that prints directly to your designated OptimiDoc Queue as shown below.
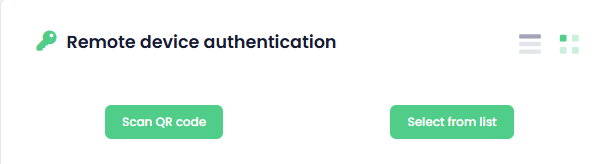
2.5) Remote Device Authentication
The Remote Device Authentication as it allows the user to authenticate with an MFP without touching it. Simply scan the QR Code on the device with the OptimiDoc Mobile app and the device instantly logs you into your OptimiDoc Profile. What’s more, you don’t even have to scan a QR Code. You can just open the OptimiDoc App and select the printer from the list.
-
Touchless Login: By selecting a printer from the list or using the mobile app to scan a QR code on the device, you can authenticate with the OptimiDoc terminal and log into your profile on your selected device.
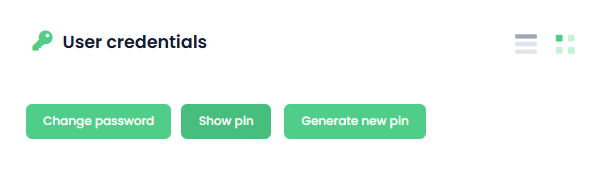
2.6) User Credentials
The User Credentials widget provides users with the ability to view and change their pin as well as change their password, should they need to do so, providing users with complete control over their own profile.
-
Password Management: You can update the password used to access this web portal.
-
PIN Codes: Many MFPs require a PIN for manual login. Here, you can view your current PIN or regenerate a new one if you need to reset your security credentials. You can by default configure your import source generate a PIN for new users if they don’t already possess one. You can find out more about that by looking at your chosen Import sources.
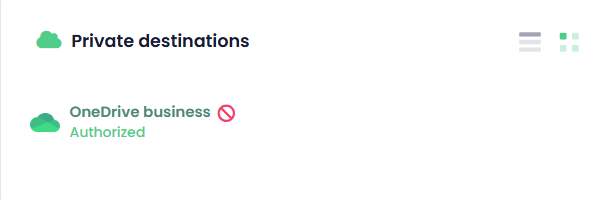
2.7) Private Destinations
This feature enables a Single Sign-On (SSO) experience for your personal cloud storage. OptimiDoc supports a single step Sign-In. Once you’ve authenticated a service once, you won’t need to do it a second time. OptimiDoc Cloud supports a range of cloud services, including…
-
OneDrive (Personal & Business)
-
SharePoint
-
Google Drive (Personal & Workspace)
-
Dropbox
-
Box
Once authorized, these destinations become available at the MFP. You can scan a document and send it directly to your private cloud folders without ever having to enter your cloud password at the printer. You can also print from Cloud Storage. By configuring a Cloud storage destination in your print connector, users can pull documents directly from their OneDrive cloud storage without it ever having to leave OneDrive before reaching the device.
Did you know? A private destination will only appear once a user has been assigned a workflow or print connector that uses this destination. The workflow or connector will also not be visible for the user until they have performed that initial authorization of the private destination.
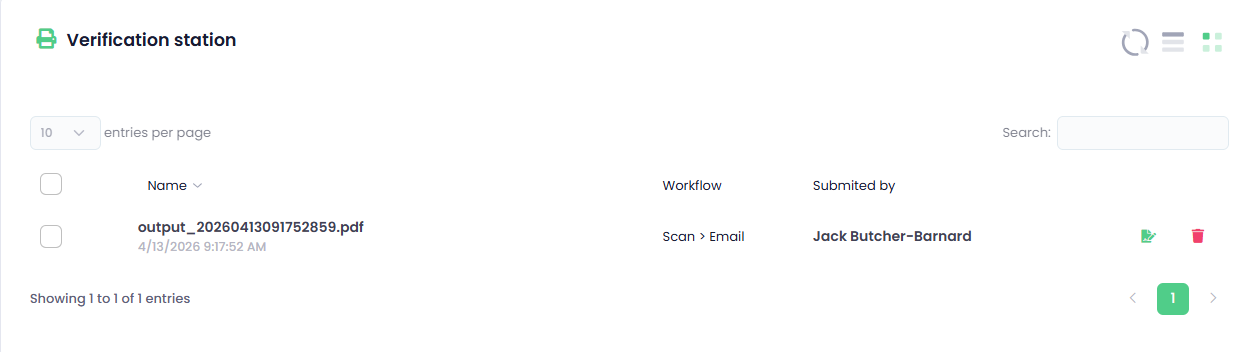
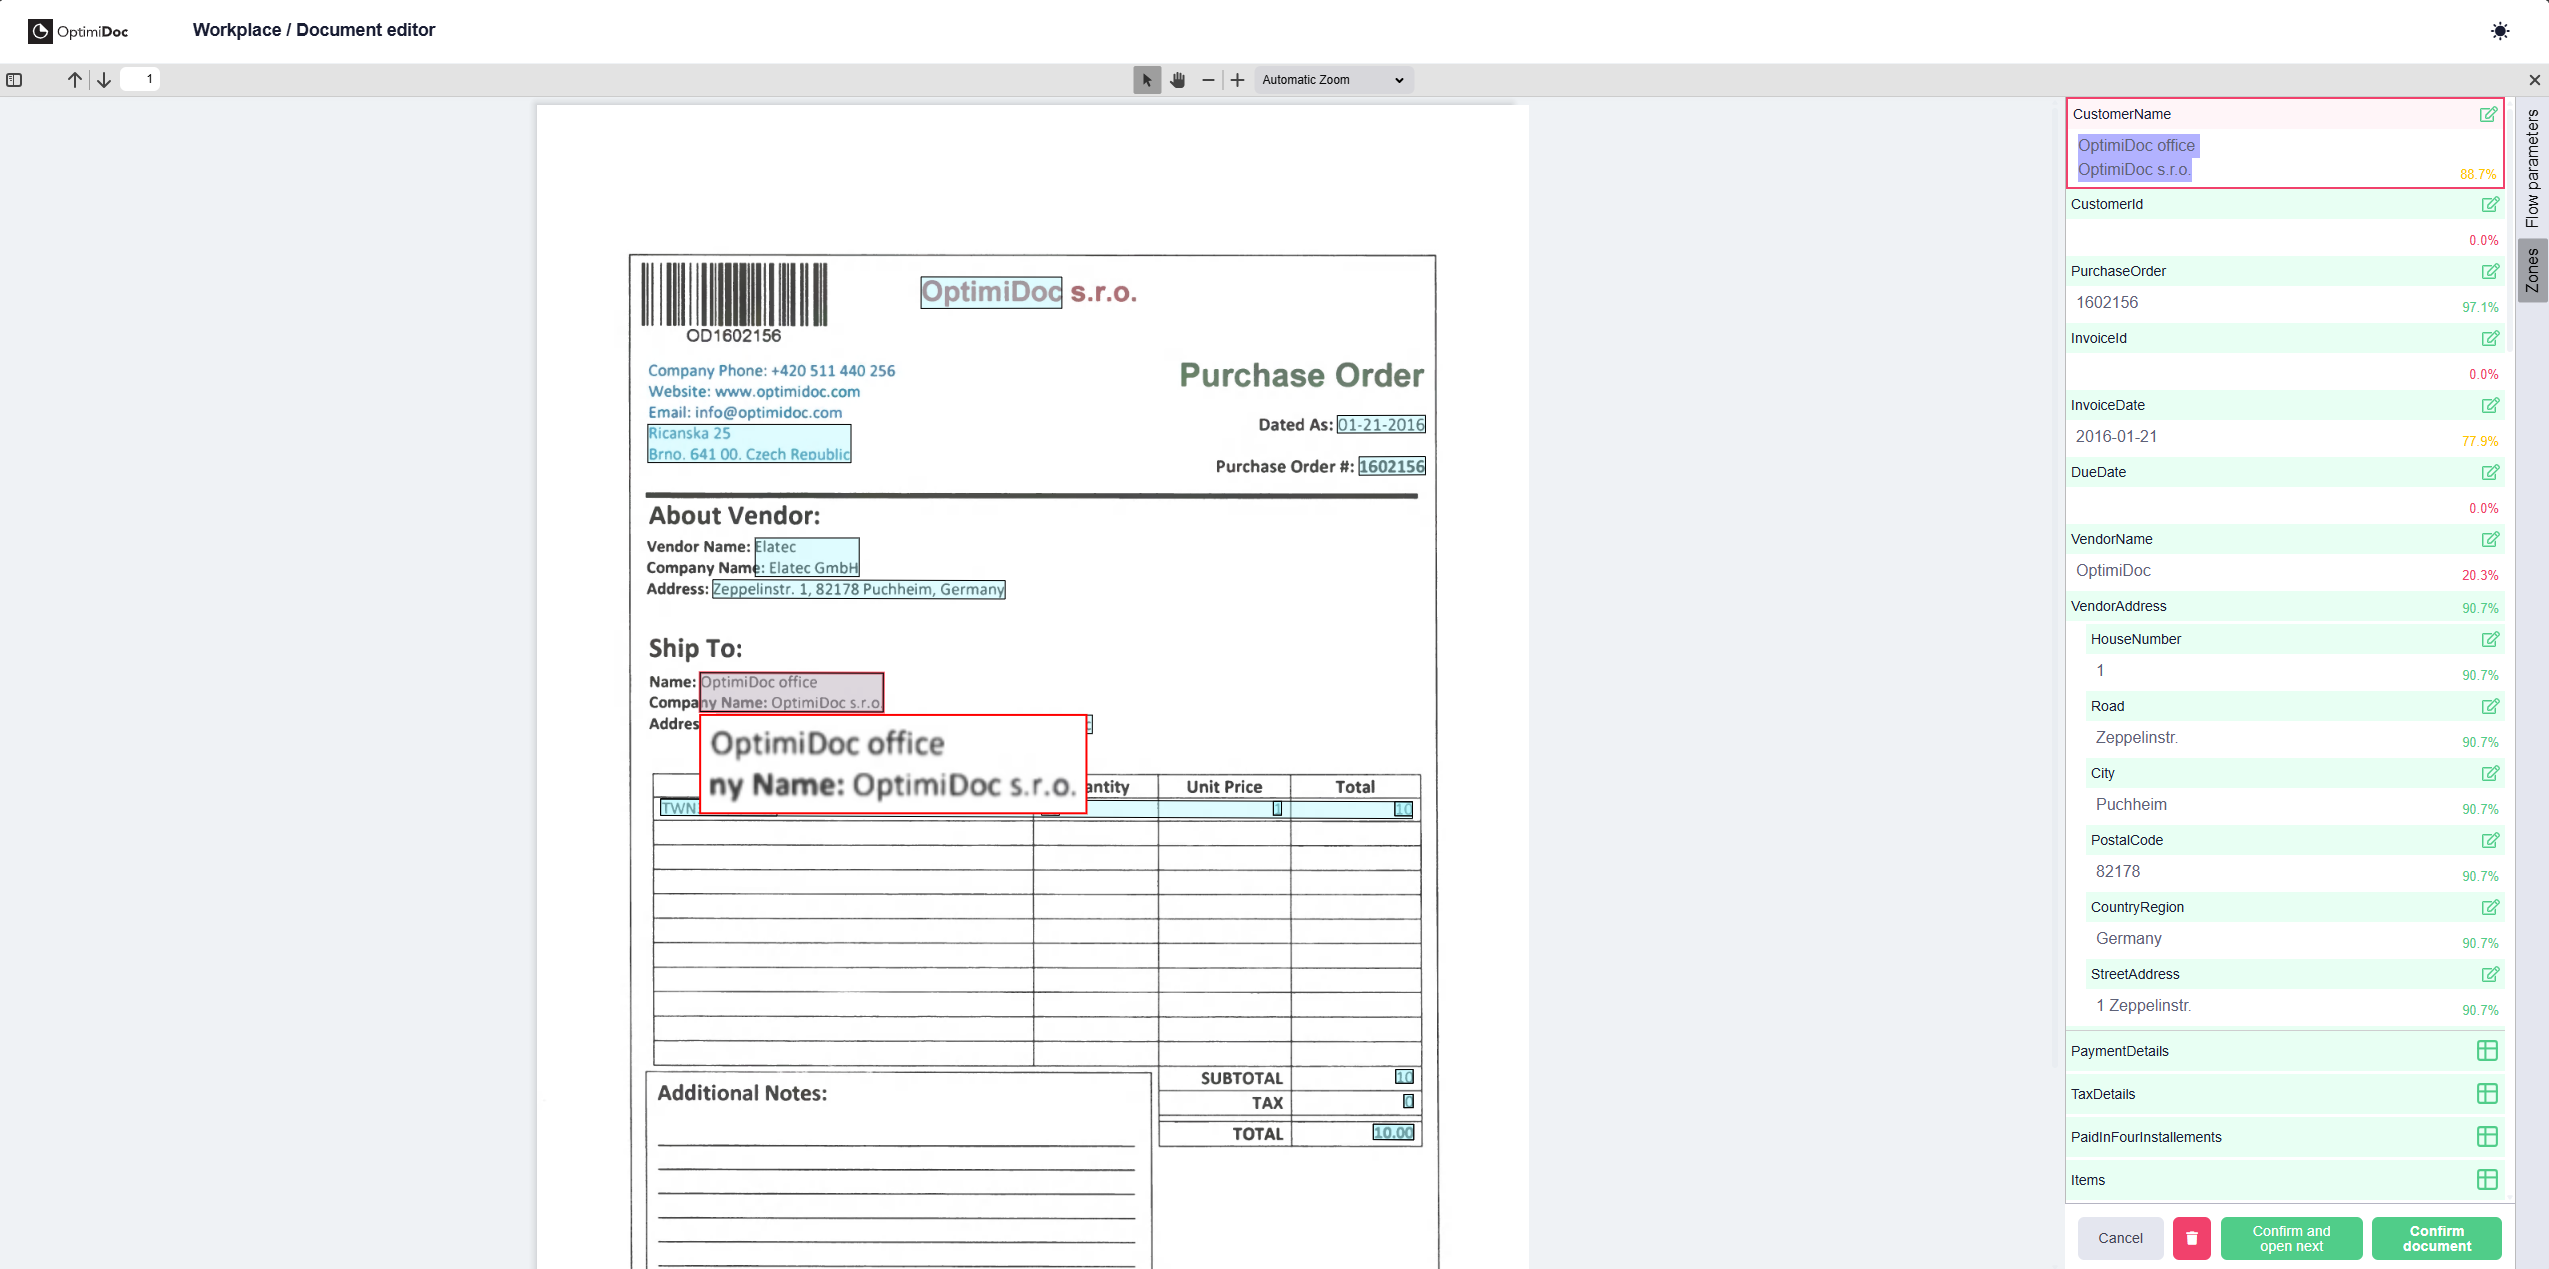
2.8) Verification Station
For workflows that use the AI and require precision accuracy, the verification station is a very handy tool. It provides a suite of editing tools that allow users to view an AI’s accuracy with extracting data from a document and provides a rating score. If the documents score is below the set range, the document is held in the verification station before delivery can commence where you can choose to Accept, Reject or change the results provided.
-
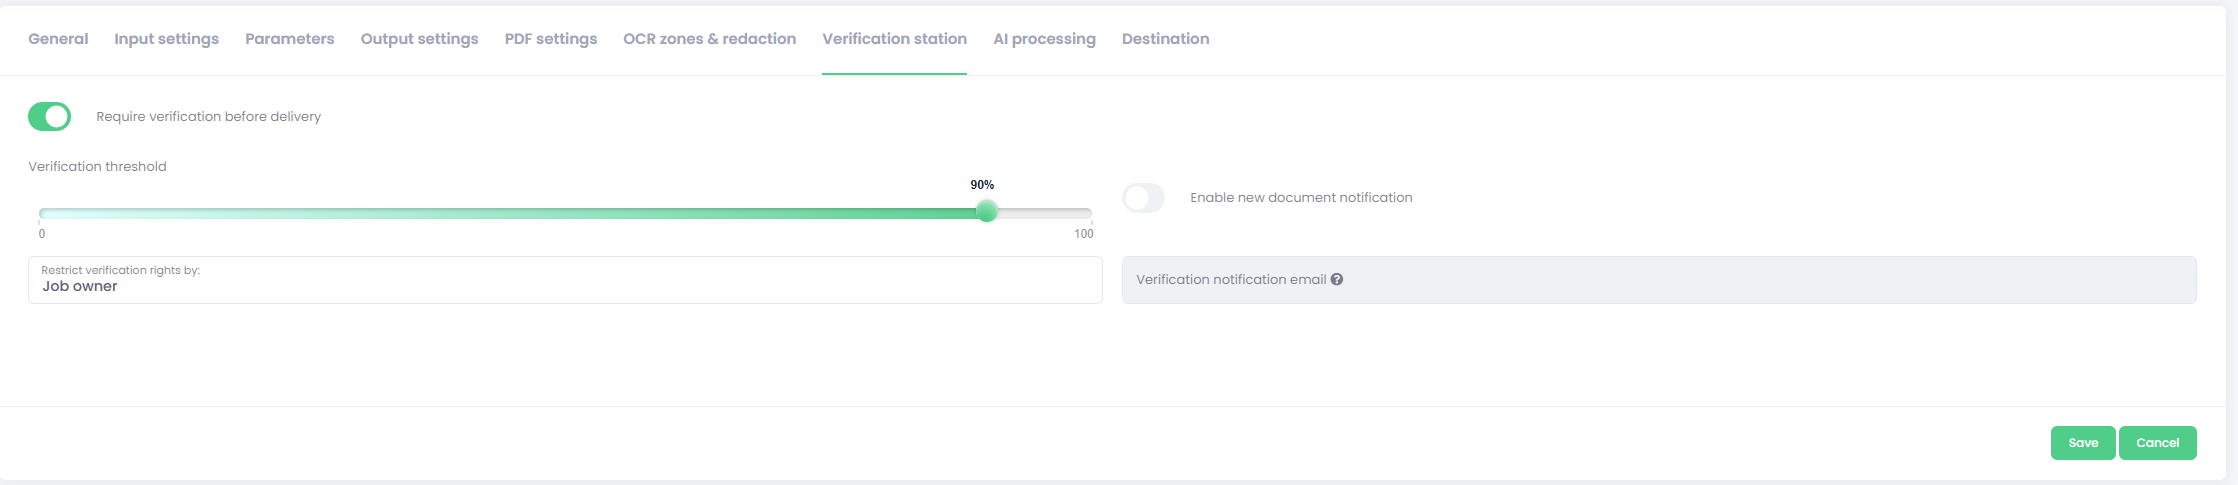
Document Verification: Administrators can set up notifications, alerting anyone they wish about any new documents. This is done on a per-workflow basis and can be configured from the Verification Station tab within the Scan Workflow
-
Verification Rights: Administrators can also choose who has access who verify documents. In many cases, the user who performed the scan is given rights to edit it, however this can be changed and administrators can use anyone from..
-
Job Owner
-
Anyone with access to workflow
-
Department
-
Group
-
3. License-Based Layout Variations
Under a User-based license, the Digital Workplace offers an enhanced level of flexibility compared to the Device-based license. This configuration provides a more personalized experience, enabling you to manage and trigger document operations directly from your own workstation.
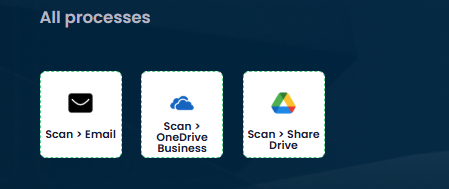
Notably, the User-based license allows you to execute specific scan workflows through the web-app interface. This means you can initiate processes without being physically present at an MFP, as shown in the example below:
-
User-Based License: This setup offers deeper personalization by allowing you to interact with your assigned scan workflows from your own devices. This ensures that your most frequent tasks are always accessible, regardless of which hardware you are using.
-
Device-Based License: In this configuration, scanning workflows are tied to the physical hardware rather than your individual profile, so these specific scan widgets will not appear in your web Workplace.
4. Profile and UI Configuration
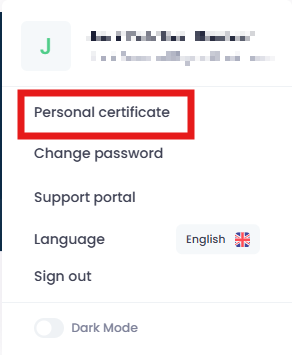
Your profile information and settings can be found by clicking your User/Profile icon in the navigation bar. You can learn more about it in Navigation.
-
UI Theme: Switch between Dark Mode (for high-contrast, low-strain viewing) and Light Mode using the sun (


-
Personal Certificates: You can also upload your own certificate for use when signing documents. OptimiDoc supports mainly either
.P12or.PFXcertificate file types. These certificates are used by the system to apply your legal digital signature during document processing.
-
Language: Change the entire Workplace interface to your preferred language using the flag icon.
-
Documentation & Learning: * The Question Mark (?) icon provides direct access to the full technical documentation.
-
The Graduation Cap icon opens the eLearning portal, offering interactive tutorials to help you master every feature of the Workplace.
-