To log in to the SSO application, you can create a local account on the printer’s web interface and use it to authenticate on the device. The following steps will show you how to do this:
-
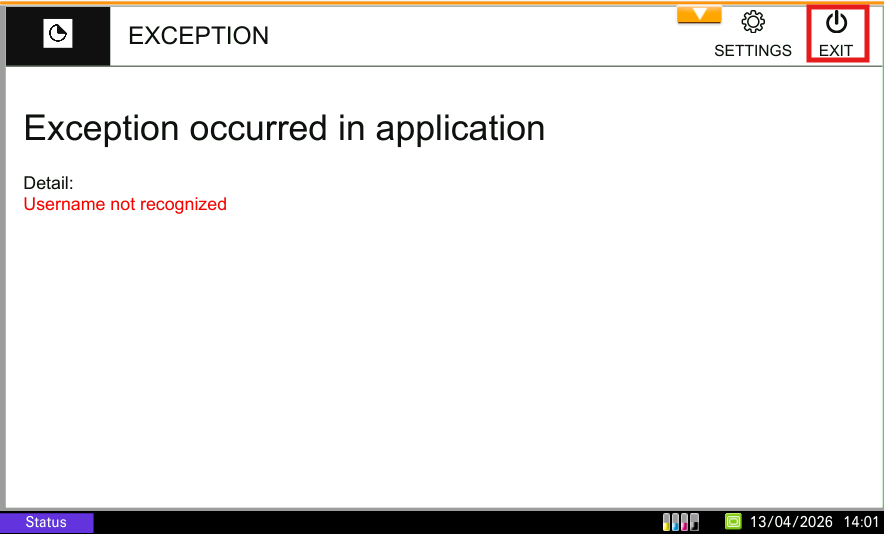
Once you enable the OptimiDoc SSO application, exit the app and follow the next steps below regarding authentication configuration, so your account could be recognized.
-
Open the device web interface.
-
Log in to the device as an administrator.
-
Navigate to Management Settings > Authentication > Settings.

-
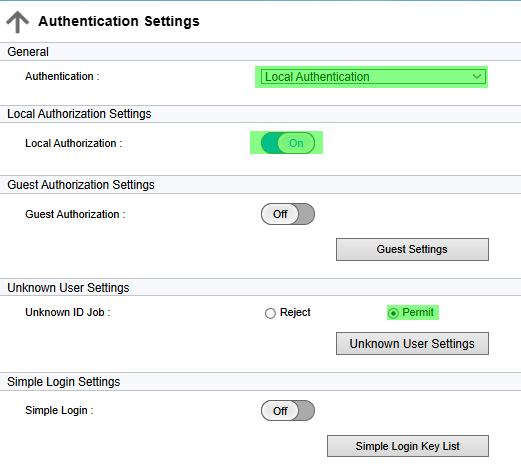
In General section, set Authentication to Local.
-
In Local Authorization Settings, enable the Local Authorization.
-
Under Unknown User Settings, select the option “Permit”.
-
Click on Submit.
-
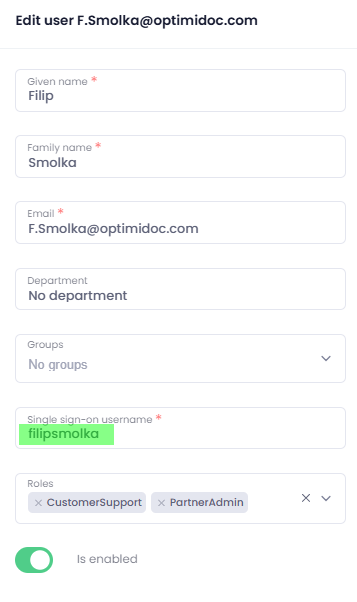
Navigate to OptimiDoc Cloud Portal to find out your Single Sign-On (SSO) username, so you can add a new user in the device web interface. SSO can be found in the Admin console > Users > User list > Edit concrete user.
-
Go back to the device web interface.
-
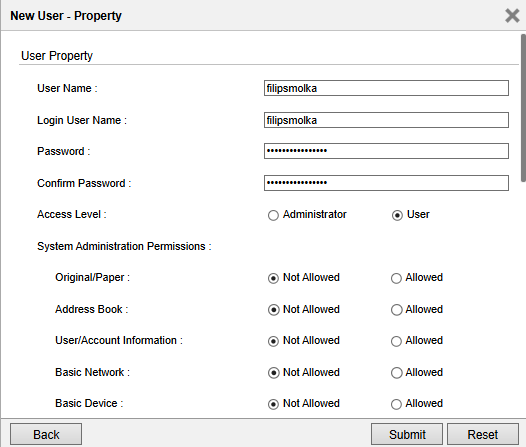
Navigate to Management Settings > Authentication > Add User.
-
User Name and Login User Name values should match the SSO value on the Cloud Portal.
-
Create a new password for your user.
-
Rest of the options could remain the same and click Submit.