OptimiDoc Cloud utilises the Xerox Convenience authentication to lock the device and provide card authetication.
A local installation of the OptimiDoc Cloud Node within the device network is required to provide device authentication functionality.
Installation of OCN is described in the following section: OptimiDoc Cloud Node (OCN)
Device authetication is configured in two steps:
Authetication configuration
-
Open the device web interface.
-
Log in to the device as an admin.
-
Go to the Properties section.
-
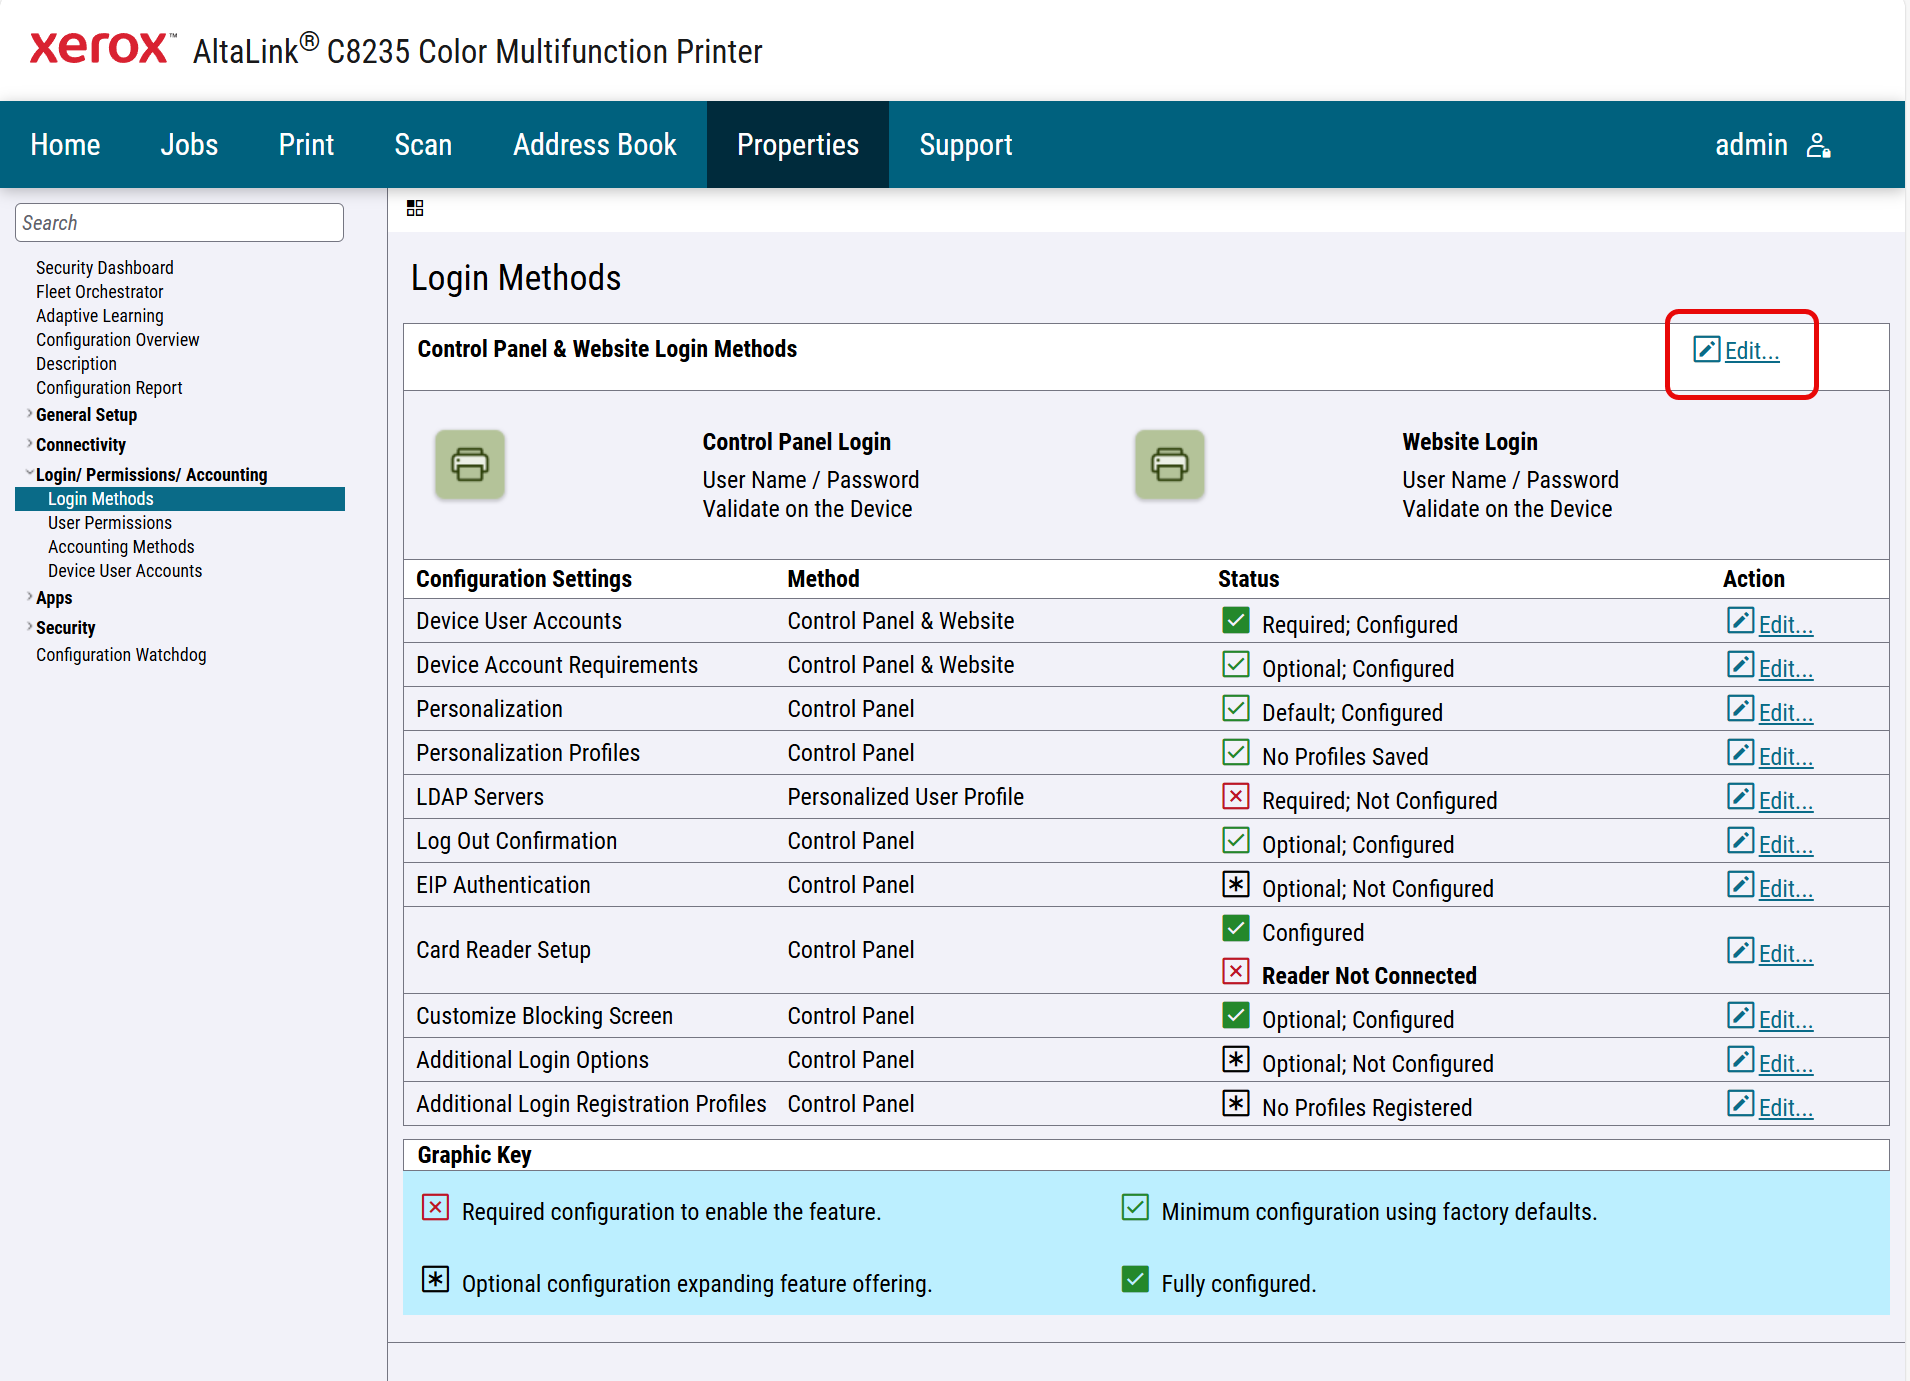
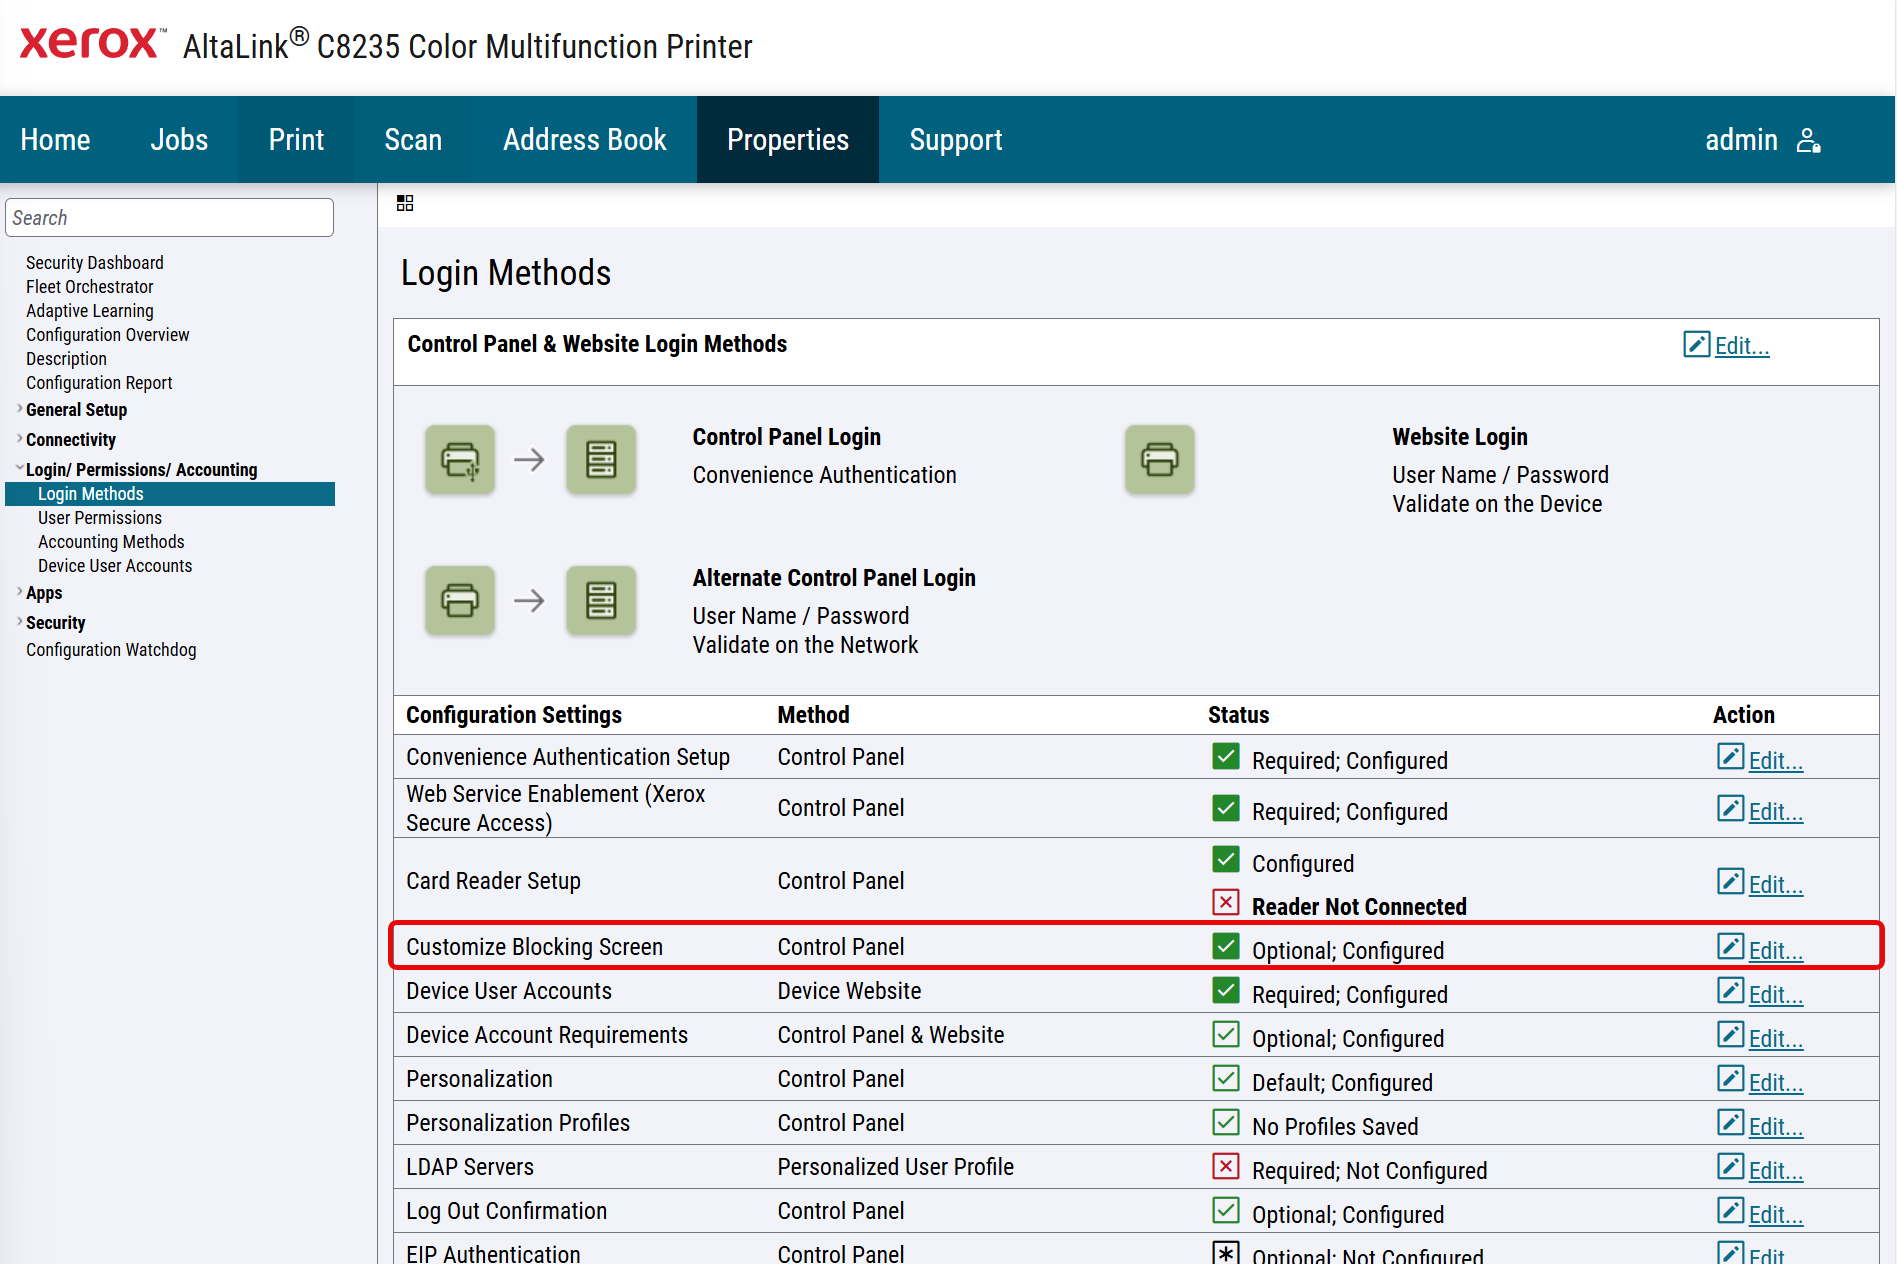
Continue to the Login Permissions/Accounting > Login methods tab.
-
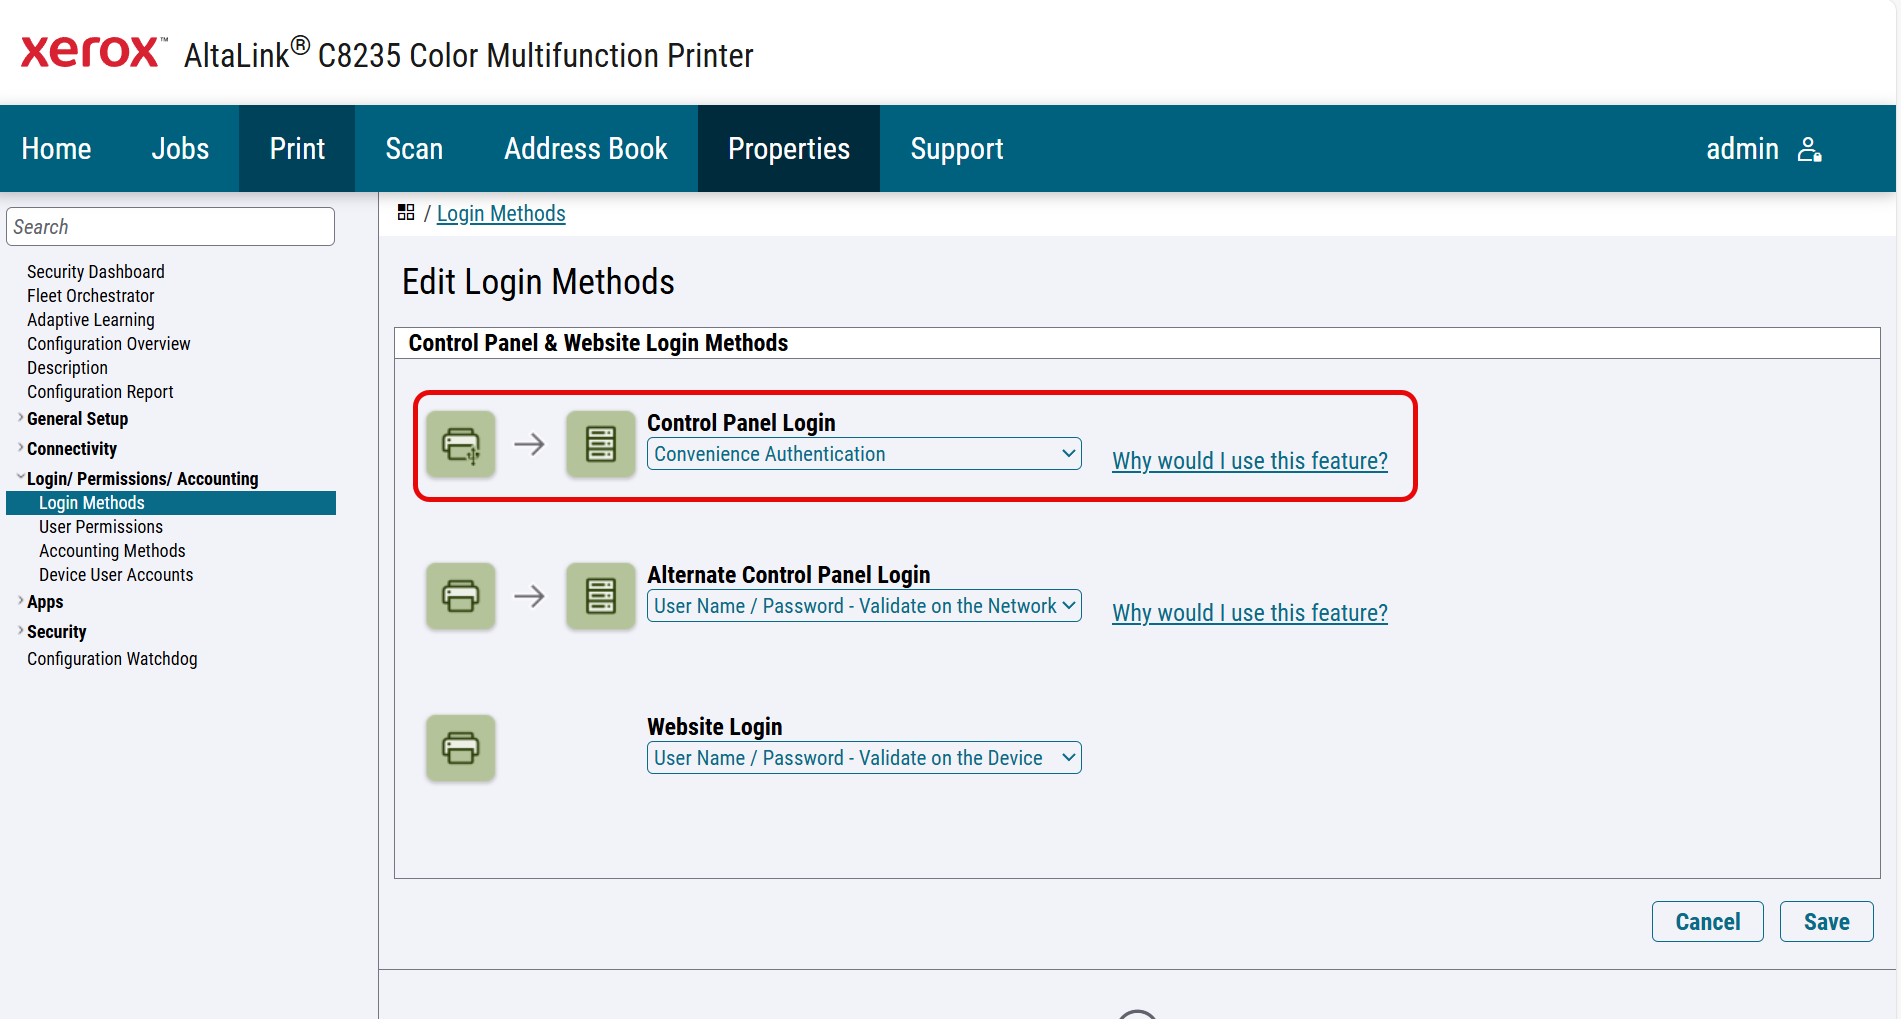
Click Edit Control Panel & Website Login Methods.
-
Configure Control Panel Login to Convenience Authentication.
-
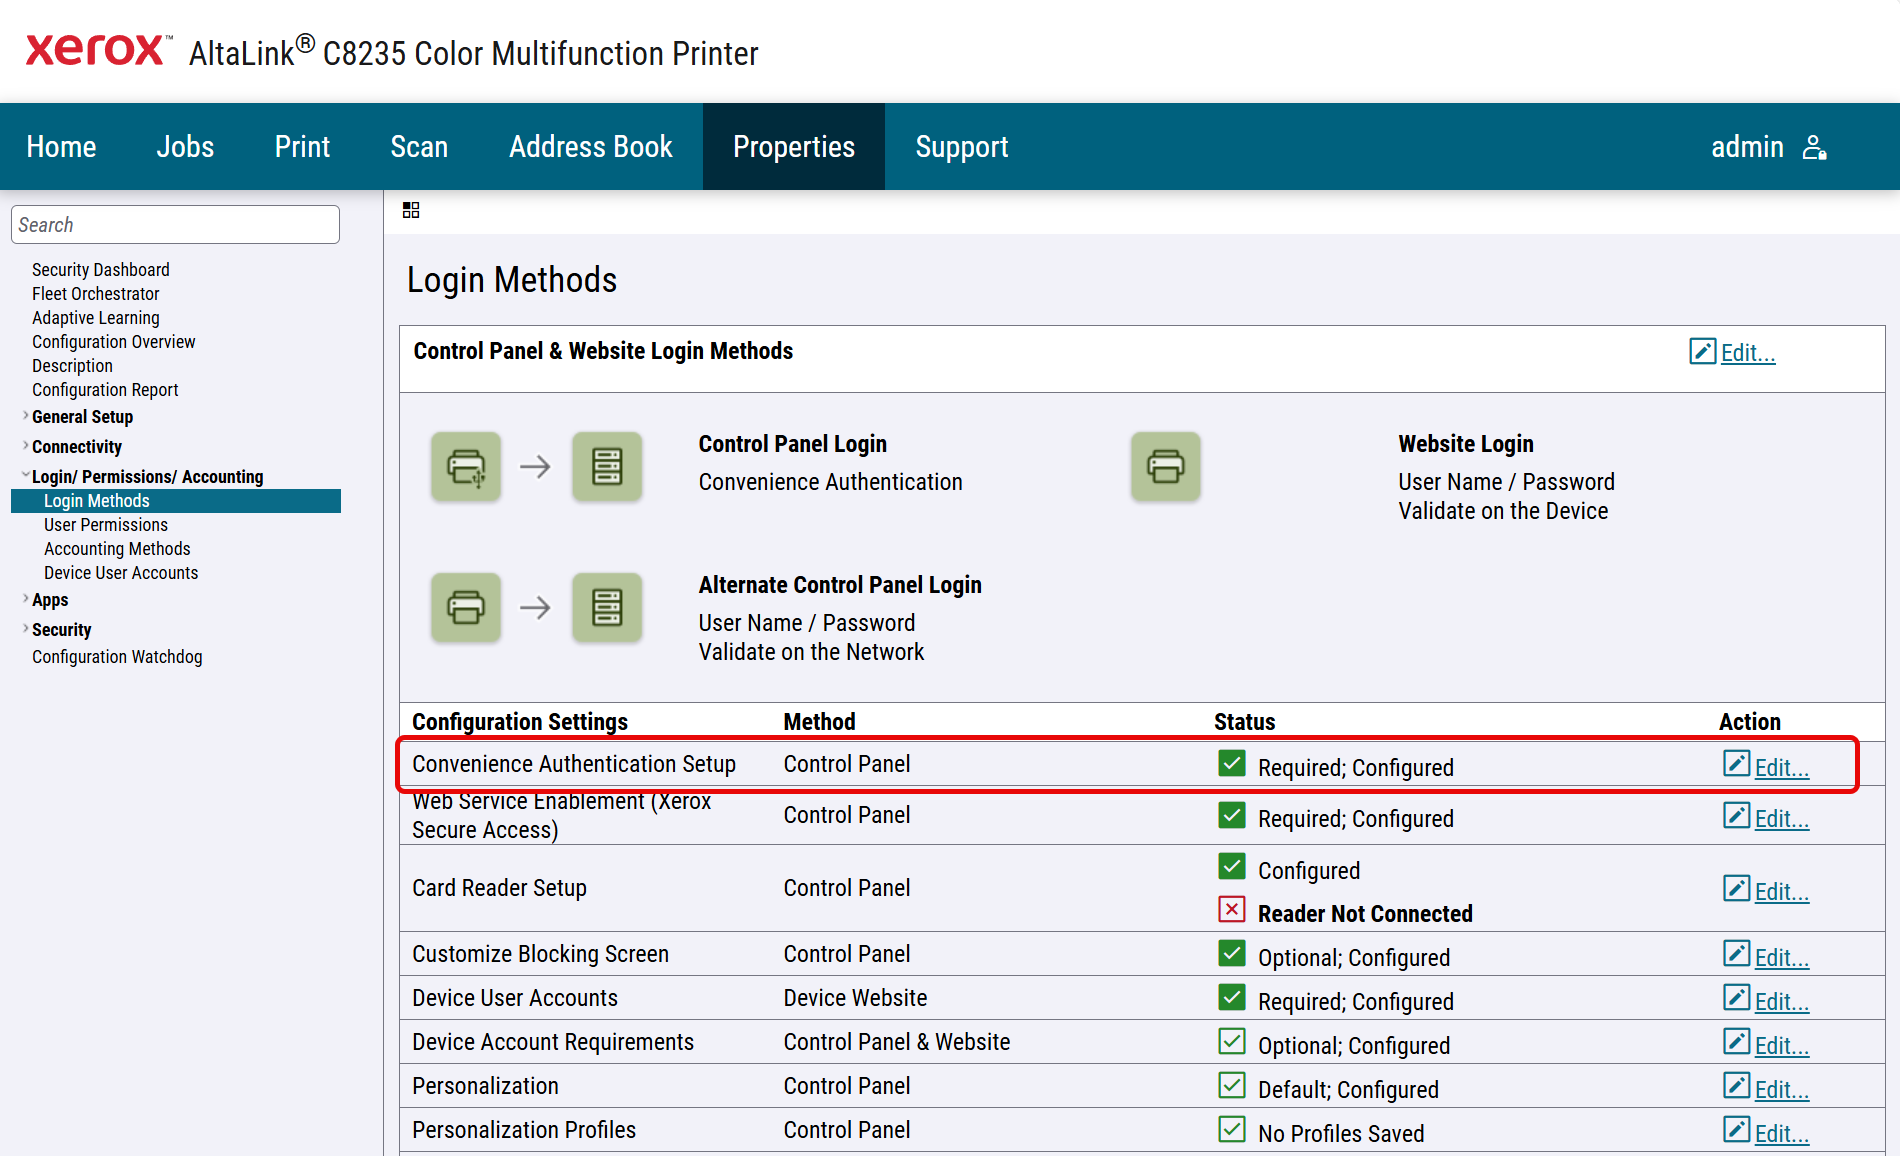
Click Save.
-
Click Edit Convenience Authentication Setup.
-
Configure the Convenience Authentication Setup:
Server Communication-
Select IPv4 Address and enter the IP address of the OptimiDoc Cloud Node.
or
Select Host Name and enter the hostname with the port.
In the Path field, enter:/XeroxAuthentication.asmx?ip=ENTER_IP_ADDRESS_OF_THE_DEVICE -
Accounting Information
Select Automatically apply accounting codes from the server.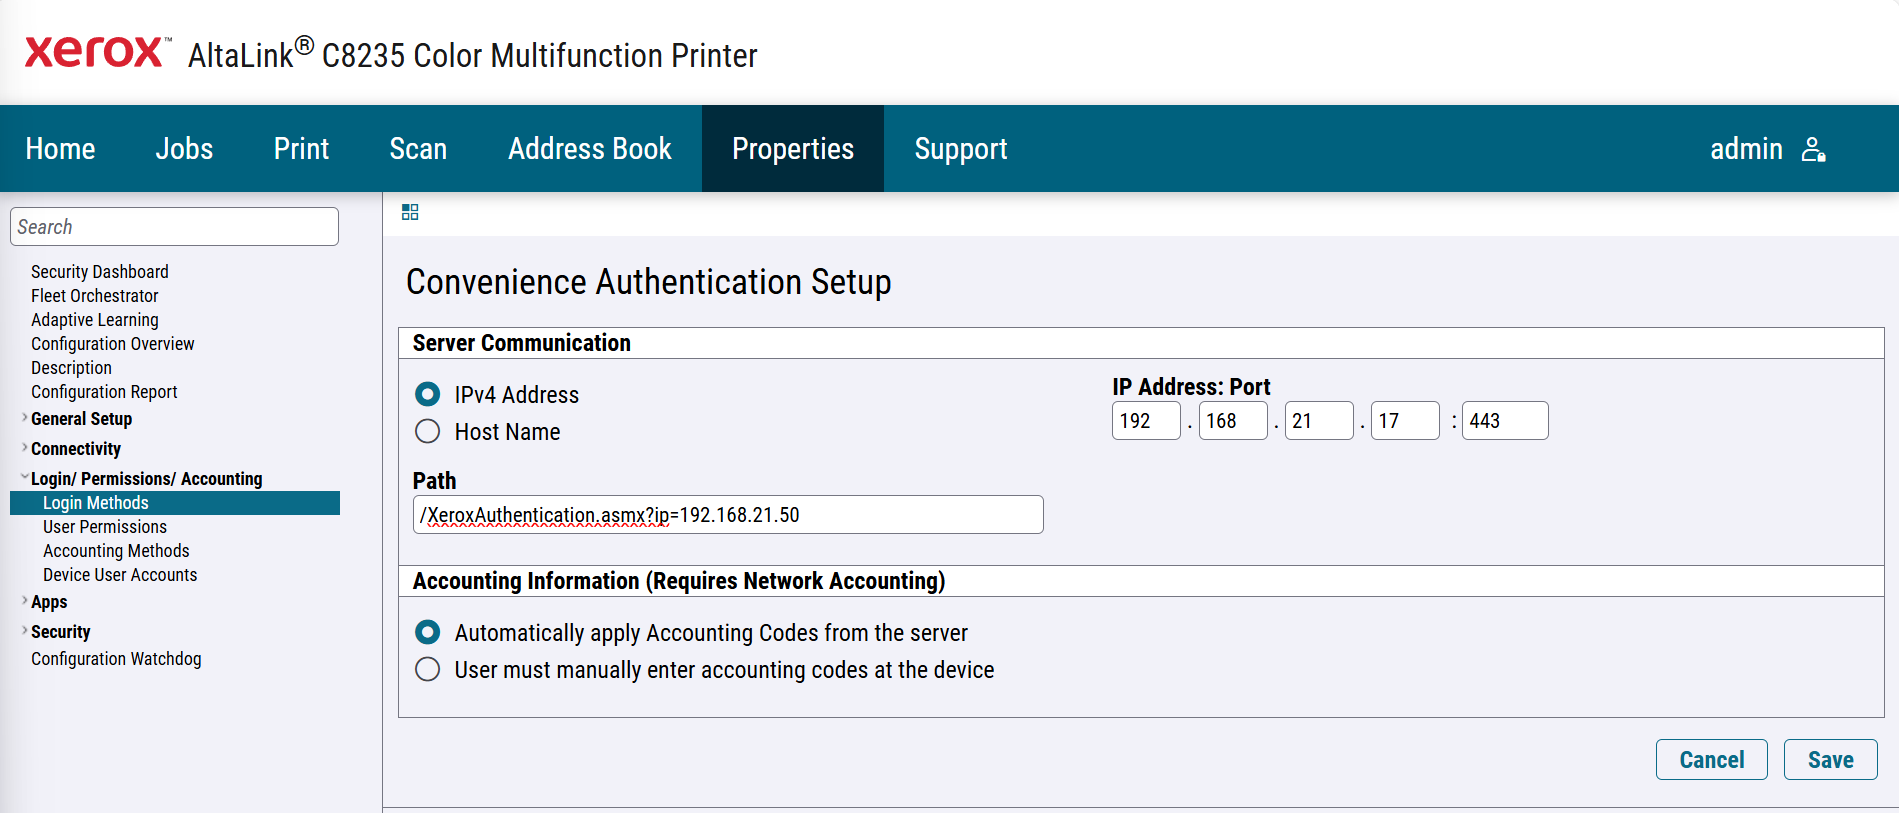
-
-
Click Save.
-
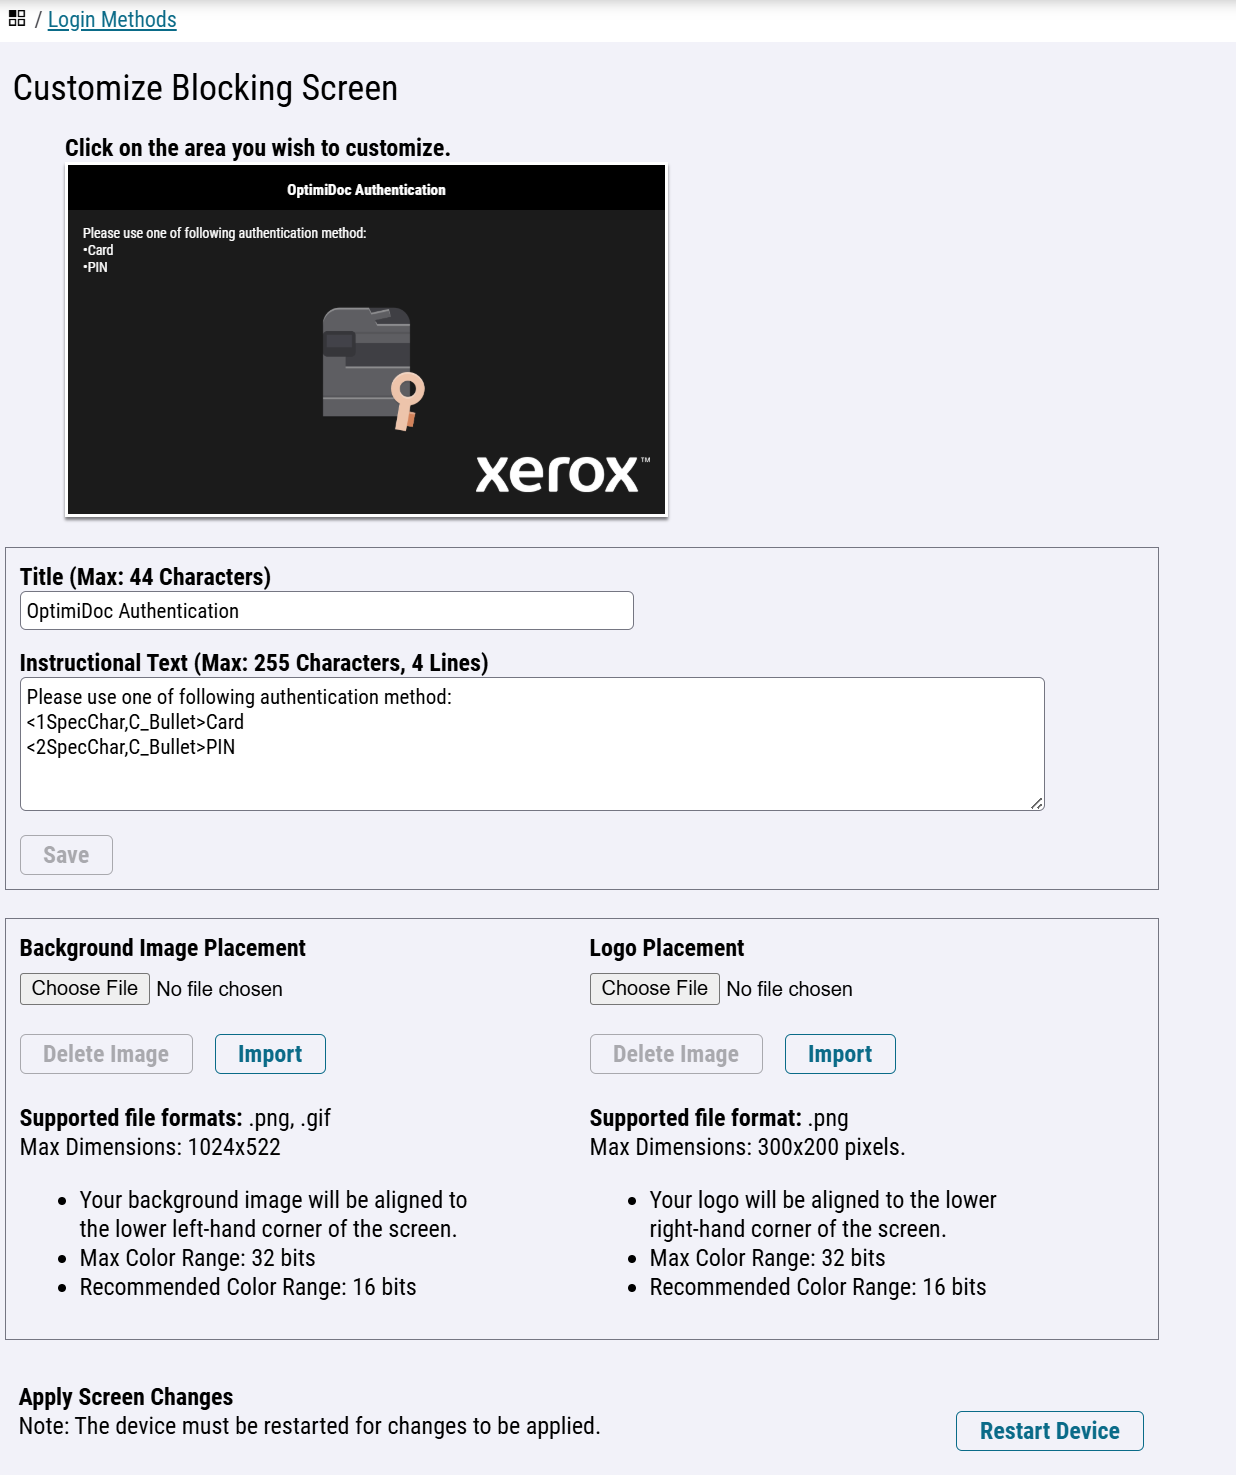
Optionally, you can modify the authentication screen on the device by editing its visual and text settings in the Customise Blocking Screen section.
User access rights configuration
Xerox allows you to define which services are available to unauthorised users and which are accessible only to authorised users.
-
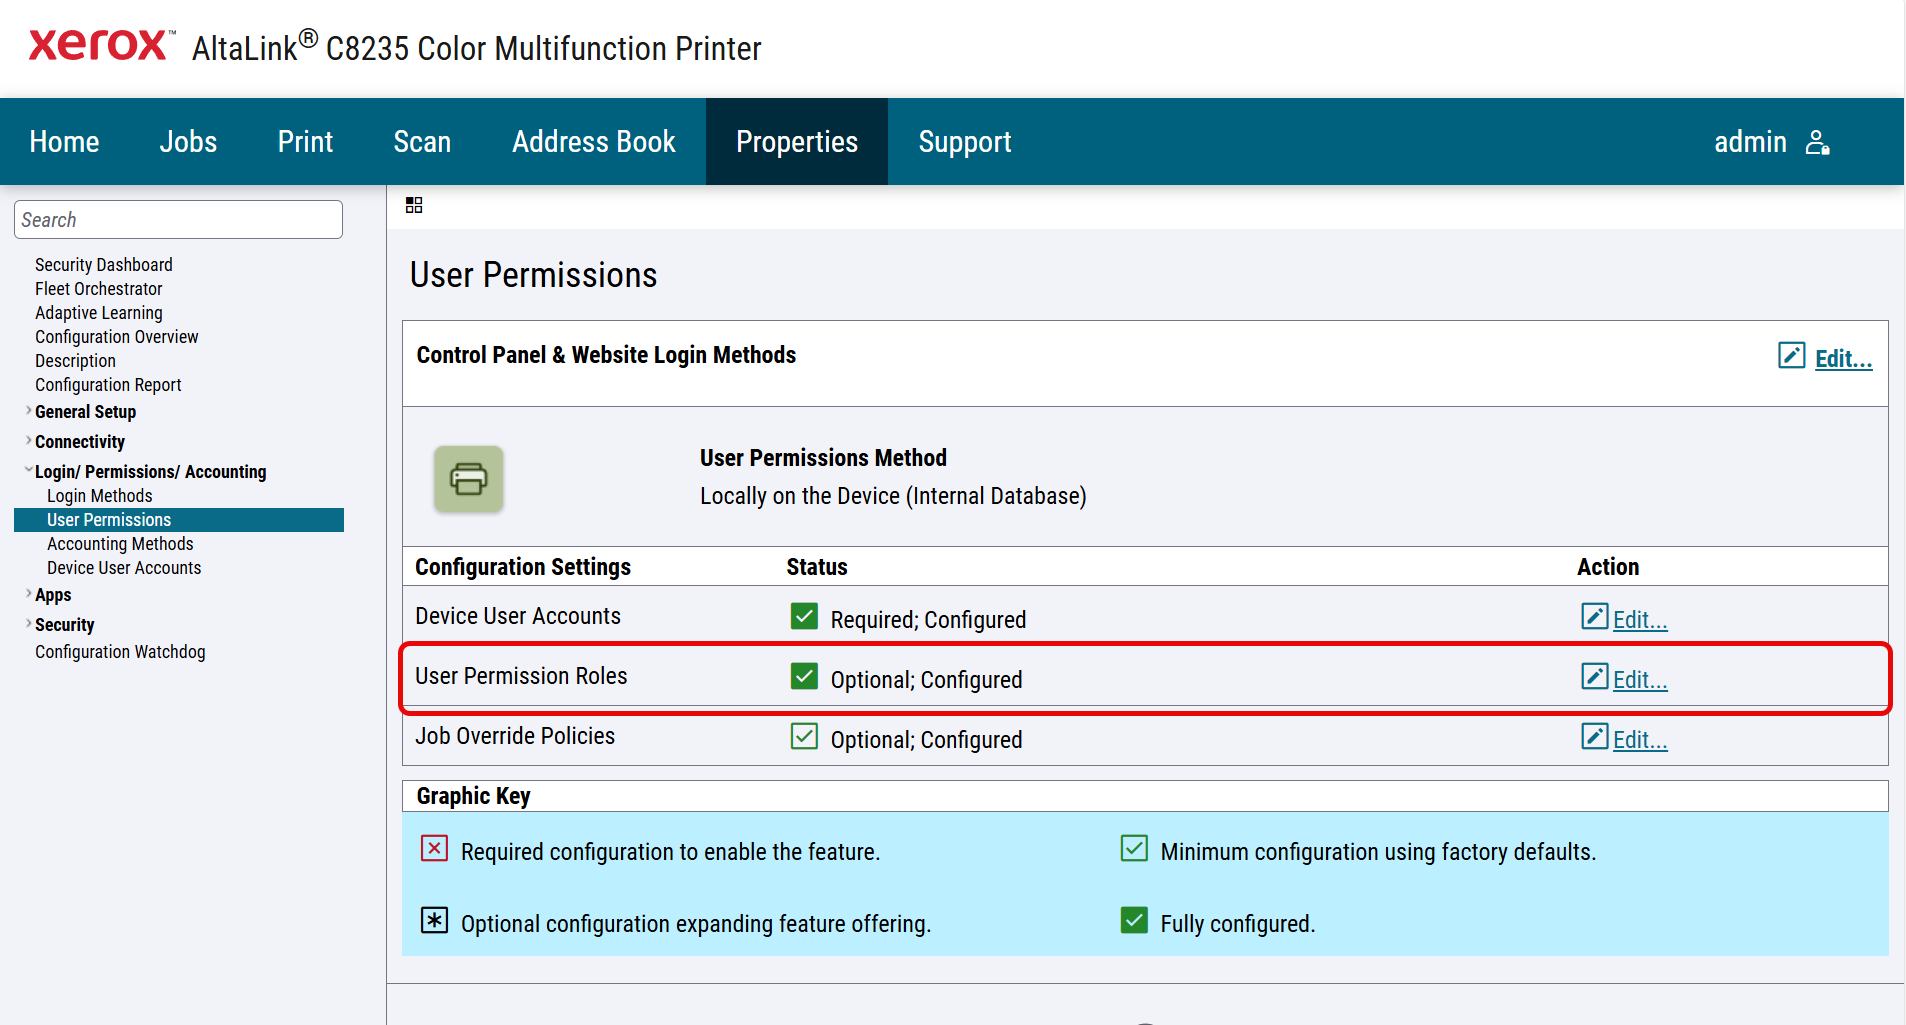
Go to the Login Permissions/Accounting > User Permissions menu.
-
Edit User Permissions Roles.
-
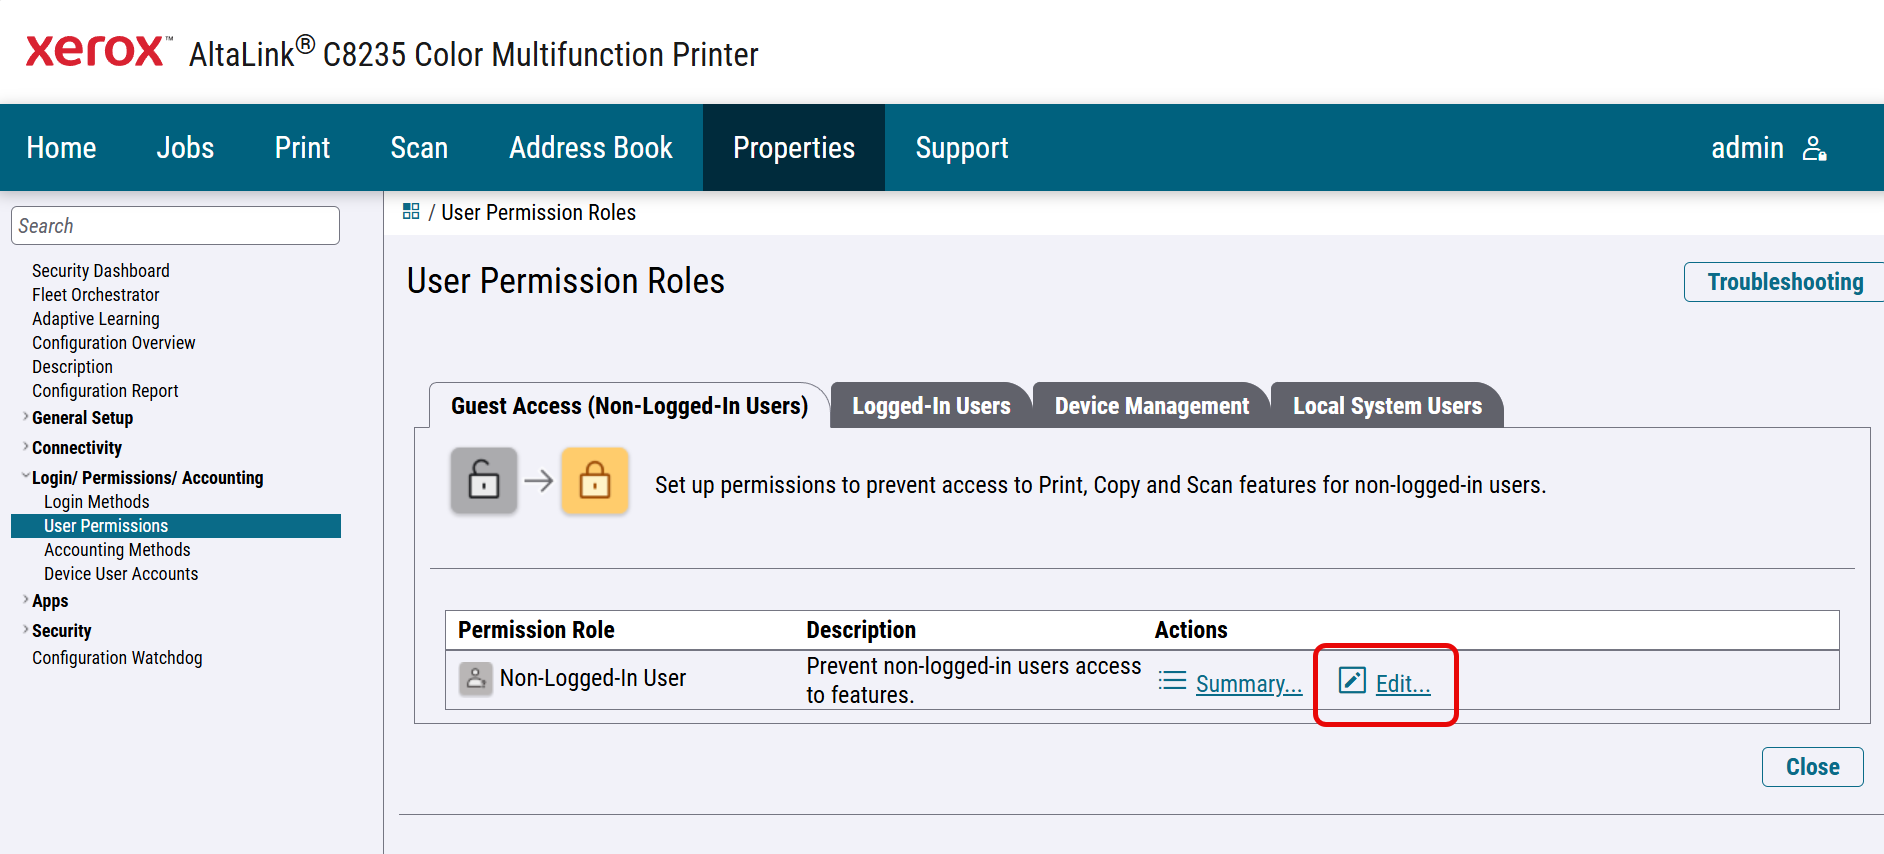
Edit Permission Role for Non-Logged-In User.
-
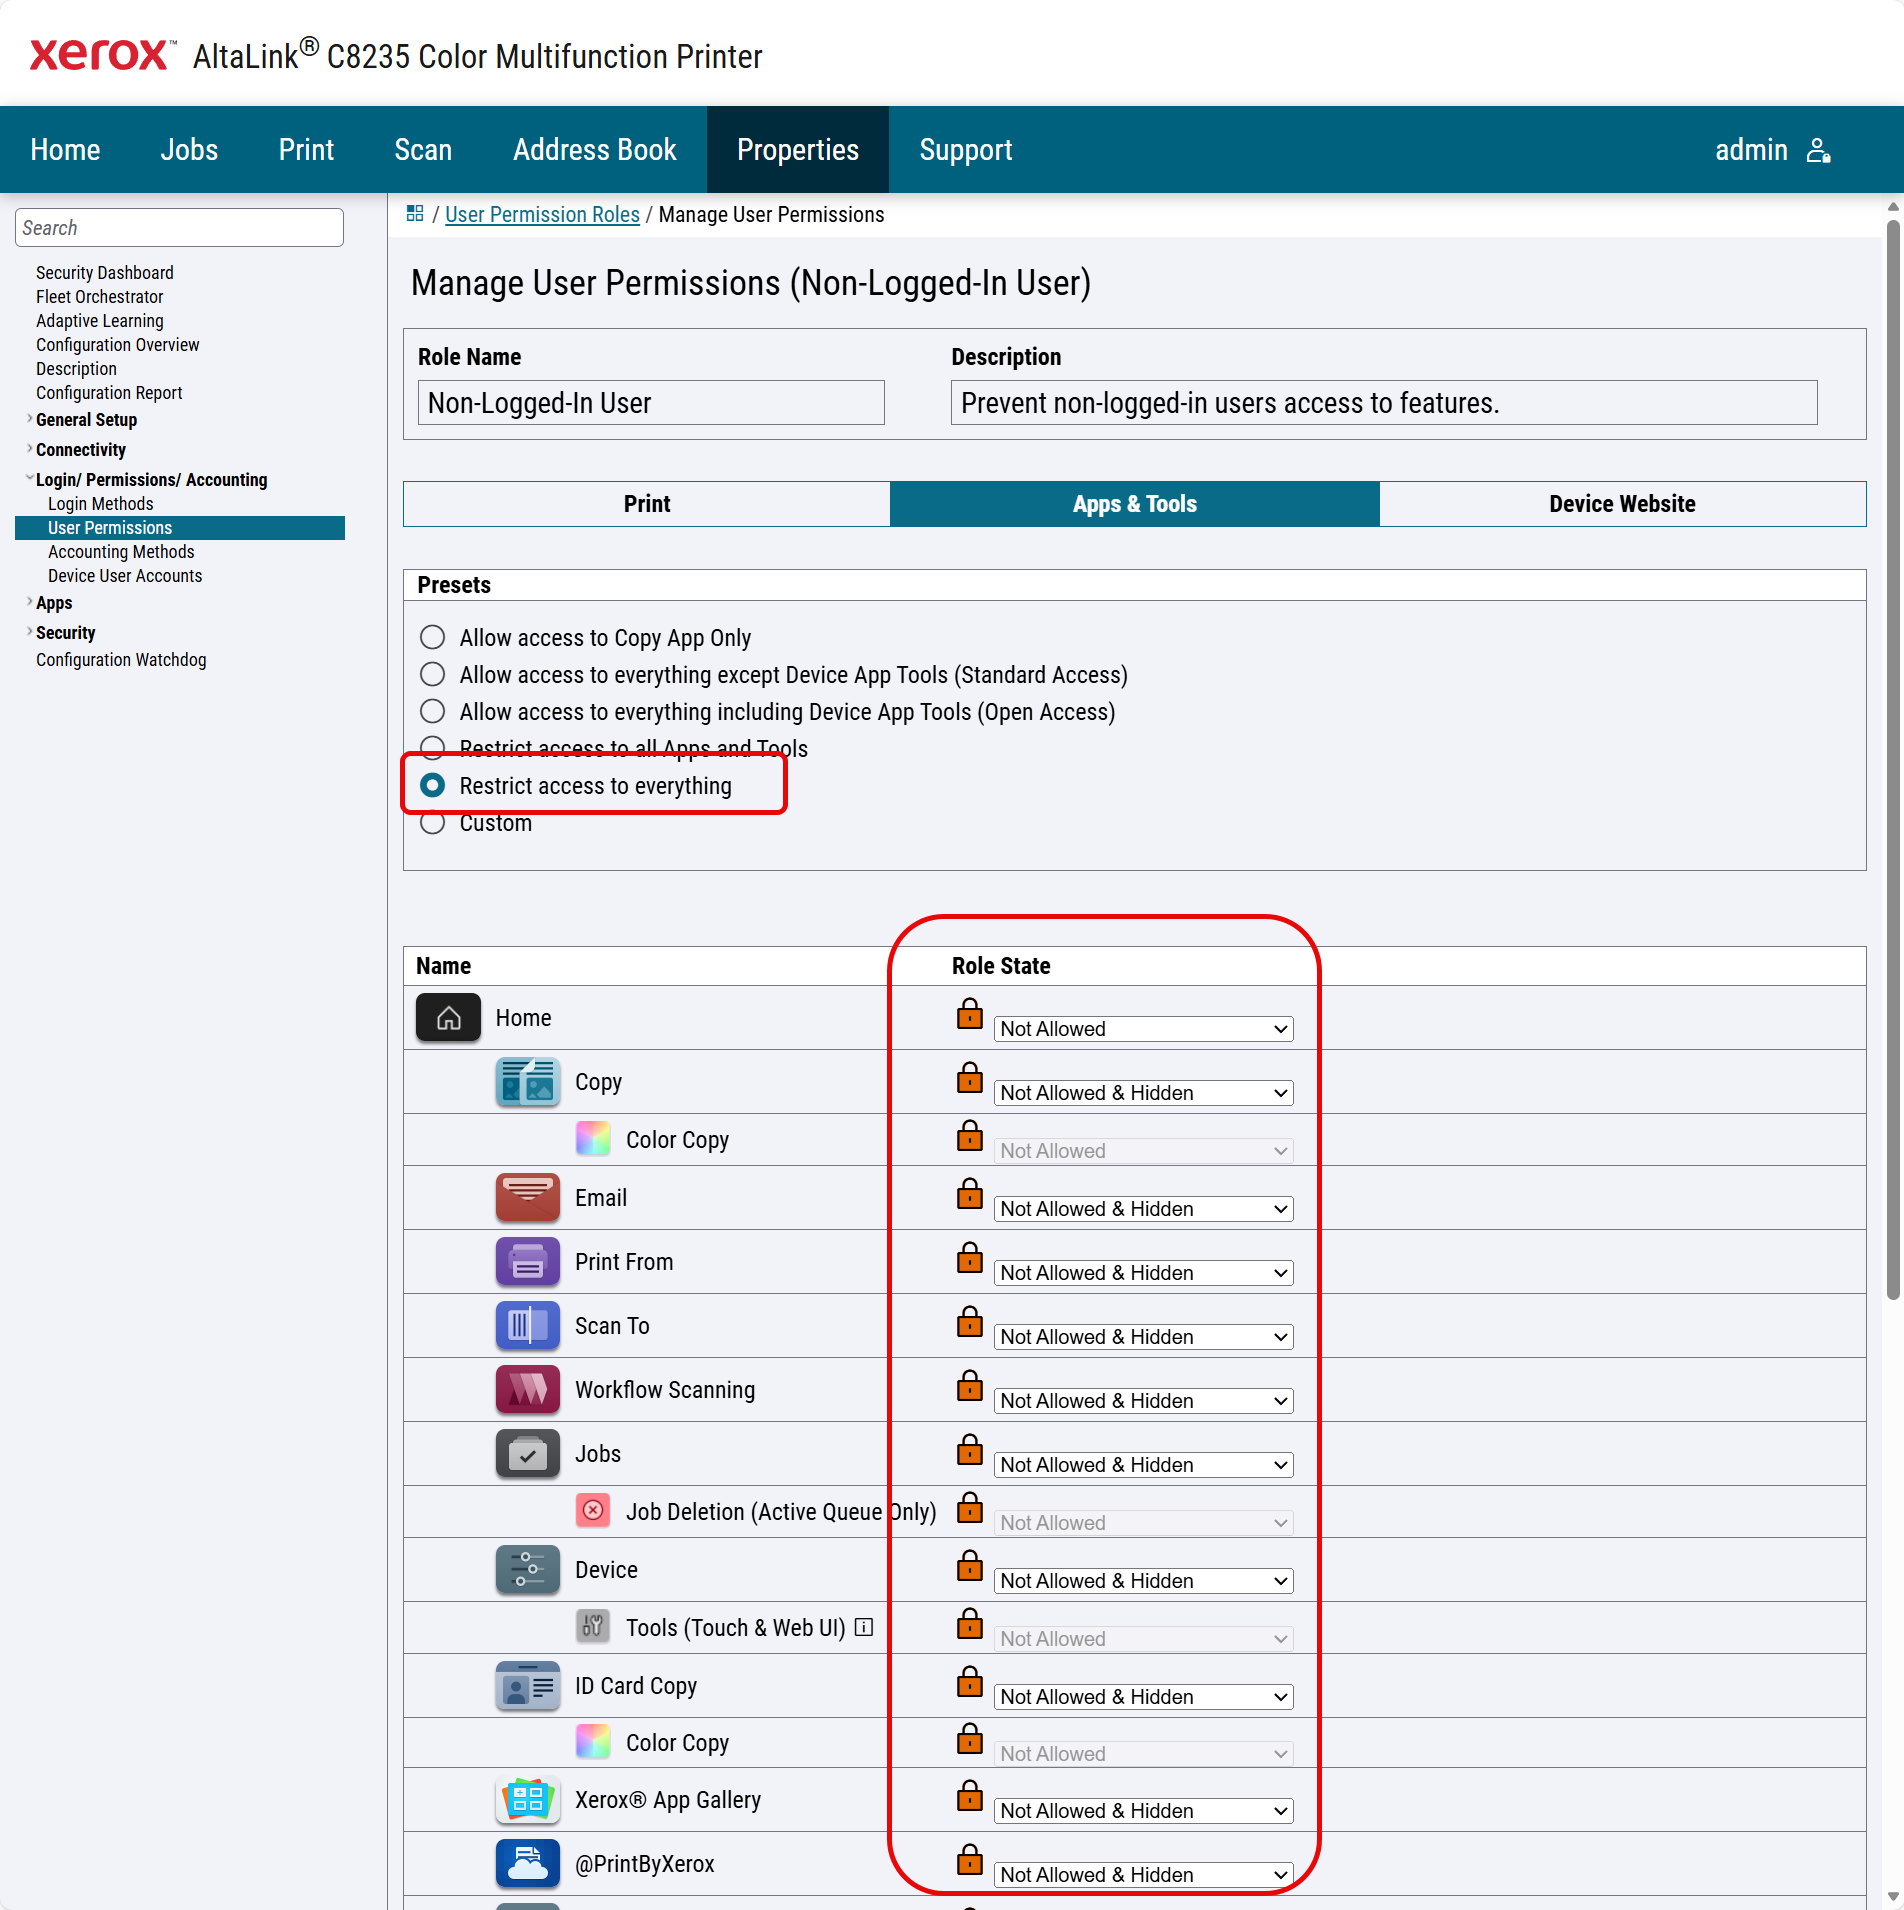
Select Apps & Tools.
-
In the Presets menu, select Restrict access to everything, or define which applications unauthorised users are allowed to use.
-
Click Apply.