OptimiDoc Cloud integrates with leading cloud providers to streamline document access. To set up a cloud storage print destination see the steps below:
-
Navigate to Print management > Print connectors within the Admin Console.
-
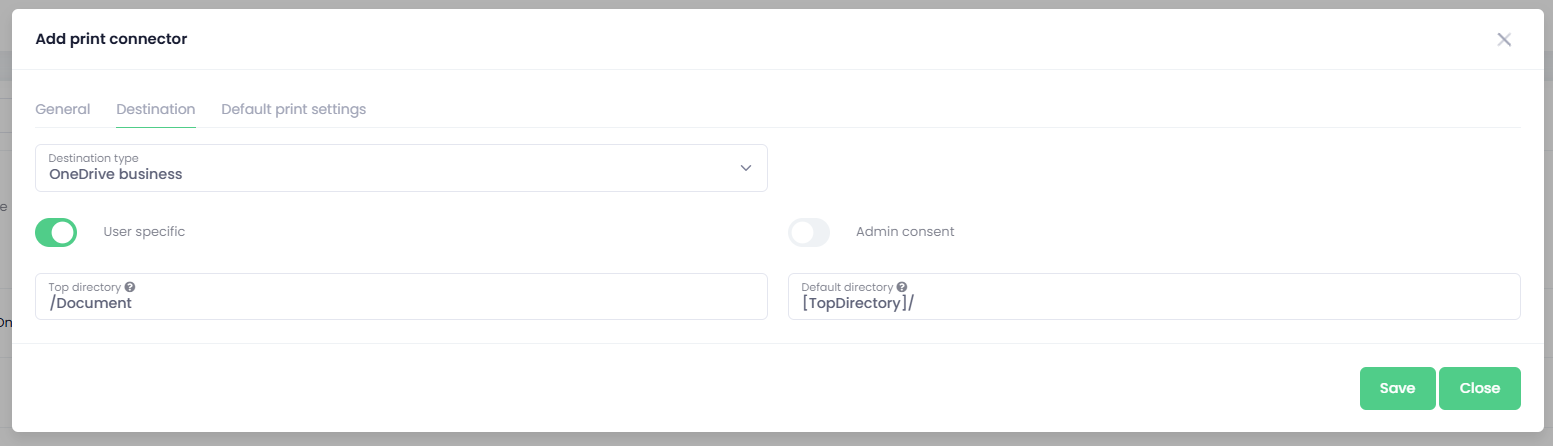
Select Add connector and choose your destination type (e.g. Dropbox, OneDrive, Google Drive).
-
Define the Top Directory (the highest level accessible to the user) and the Default directory shown upon opening the connector.
Did you know? OptimiDoc Cloud supports a vast range of Cloud destinations out of the box, including… OneDrive (Business & Personal), SharePoint, Google Drive (Workspace & Personal), DropBox & Box
User Authorization
Cloud destinations utilize OAuth 2.0 technology to ensure maximum security. Authorization methods vary based on the connector type:
-
Personal Connectors: Every user must authorize the connector individually via the Private Destinations widget on their Workplace dashboard.
-
Global Connectors: Administrators can use the Admin Consent feature for Office 365/ Google Workspace destinations to authorize the connector once on behalf of all users in the organization.
Note: If you change a spooler or destination path, any print jobs currently in the old queue will not be migrated and will no longer be available for release.
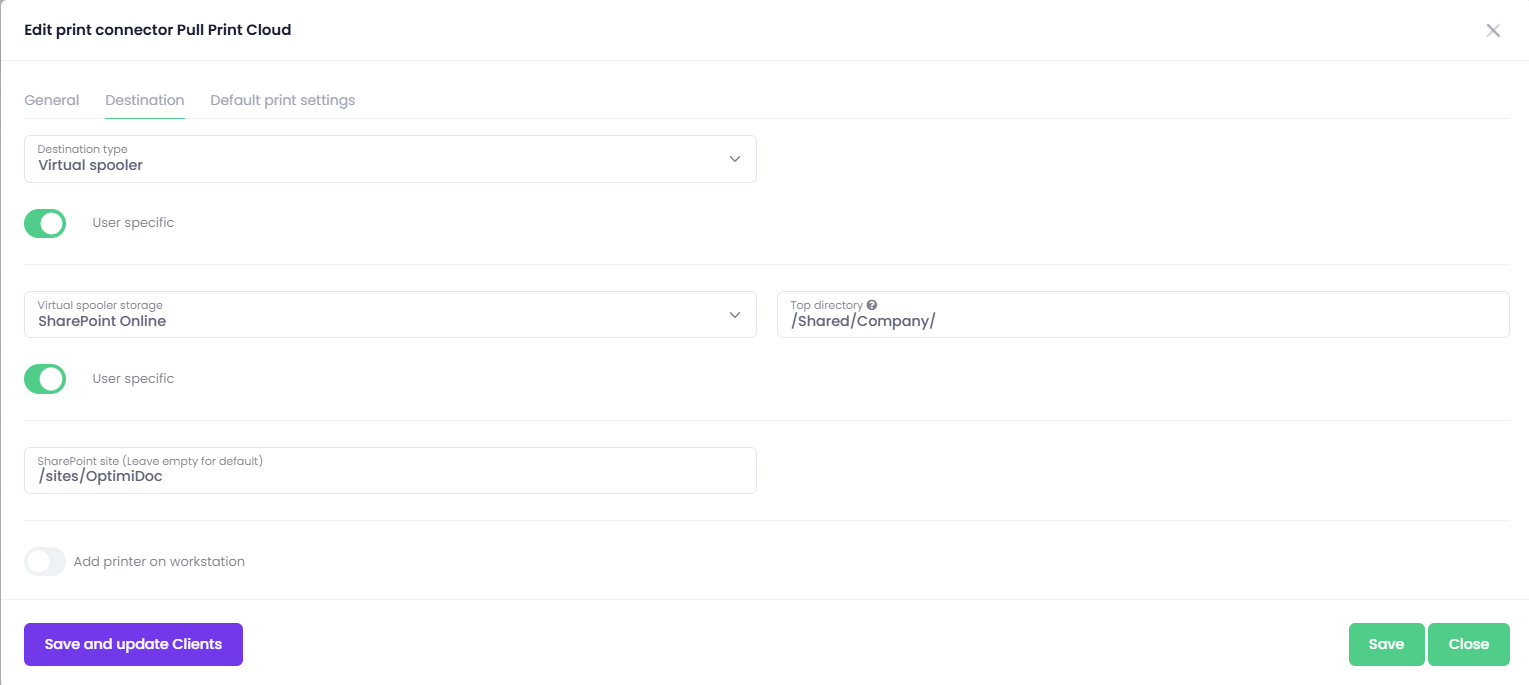
SharePoint Online
Along with cloud destinations such as OneDrive, Dropbox and Google Drive, OptimiDoc also supports printing directly from SharePoint online. You can configure SharePoint in a very similar way to using Cloud Storage.
-
Navigate to Print Management > Print Connectors within the Admin Console
-
Select Add Connector and choose destination type SharePoint Online
-
Define the Top Directory (the highest level accessible to the user) and the Default directory shown upon opening the connector.
-
Specify the SharePoint Site that you want users to be able to print documents from.
Note: If this is left blank, you companies default SharePoint Site will be used